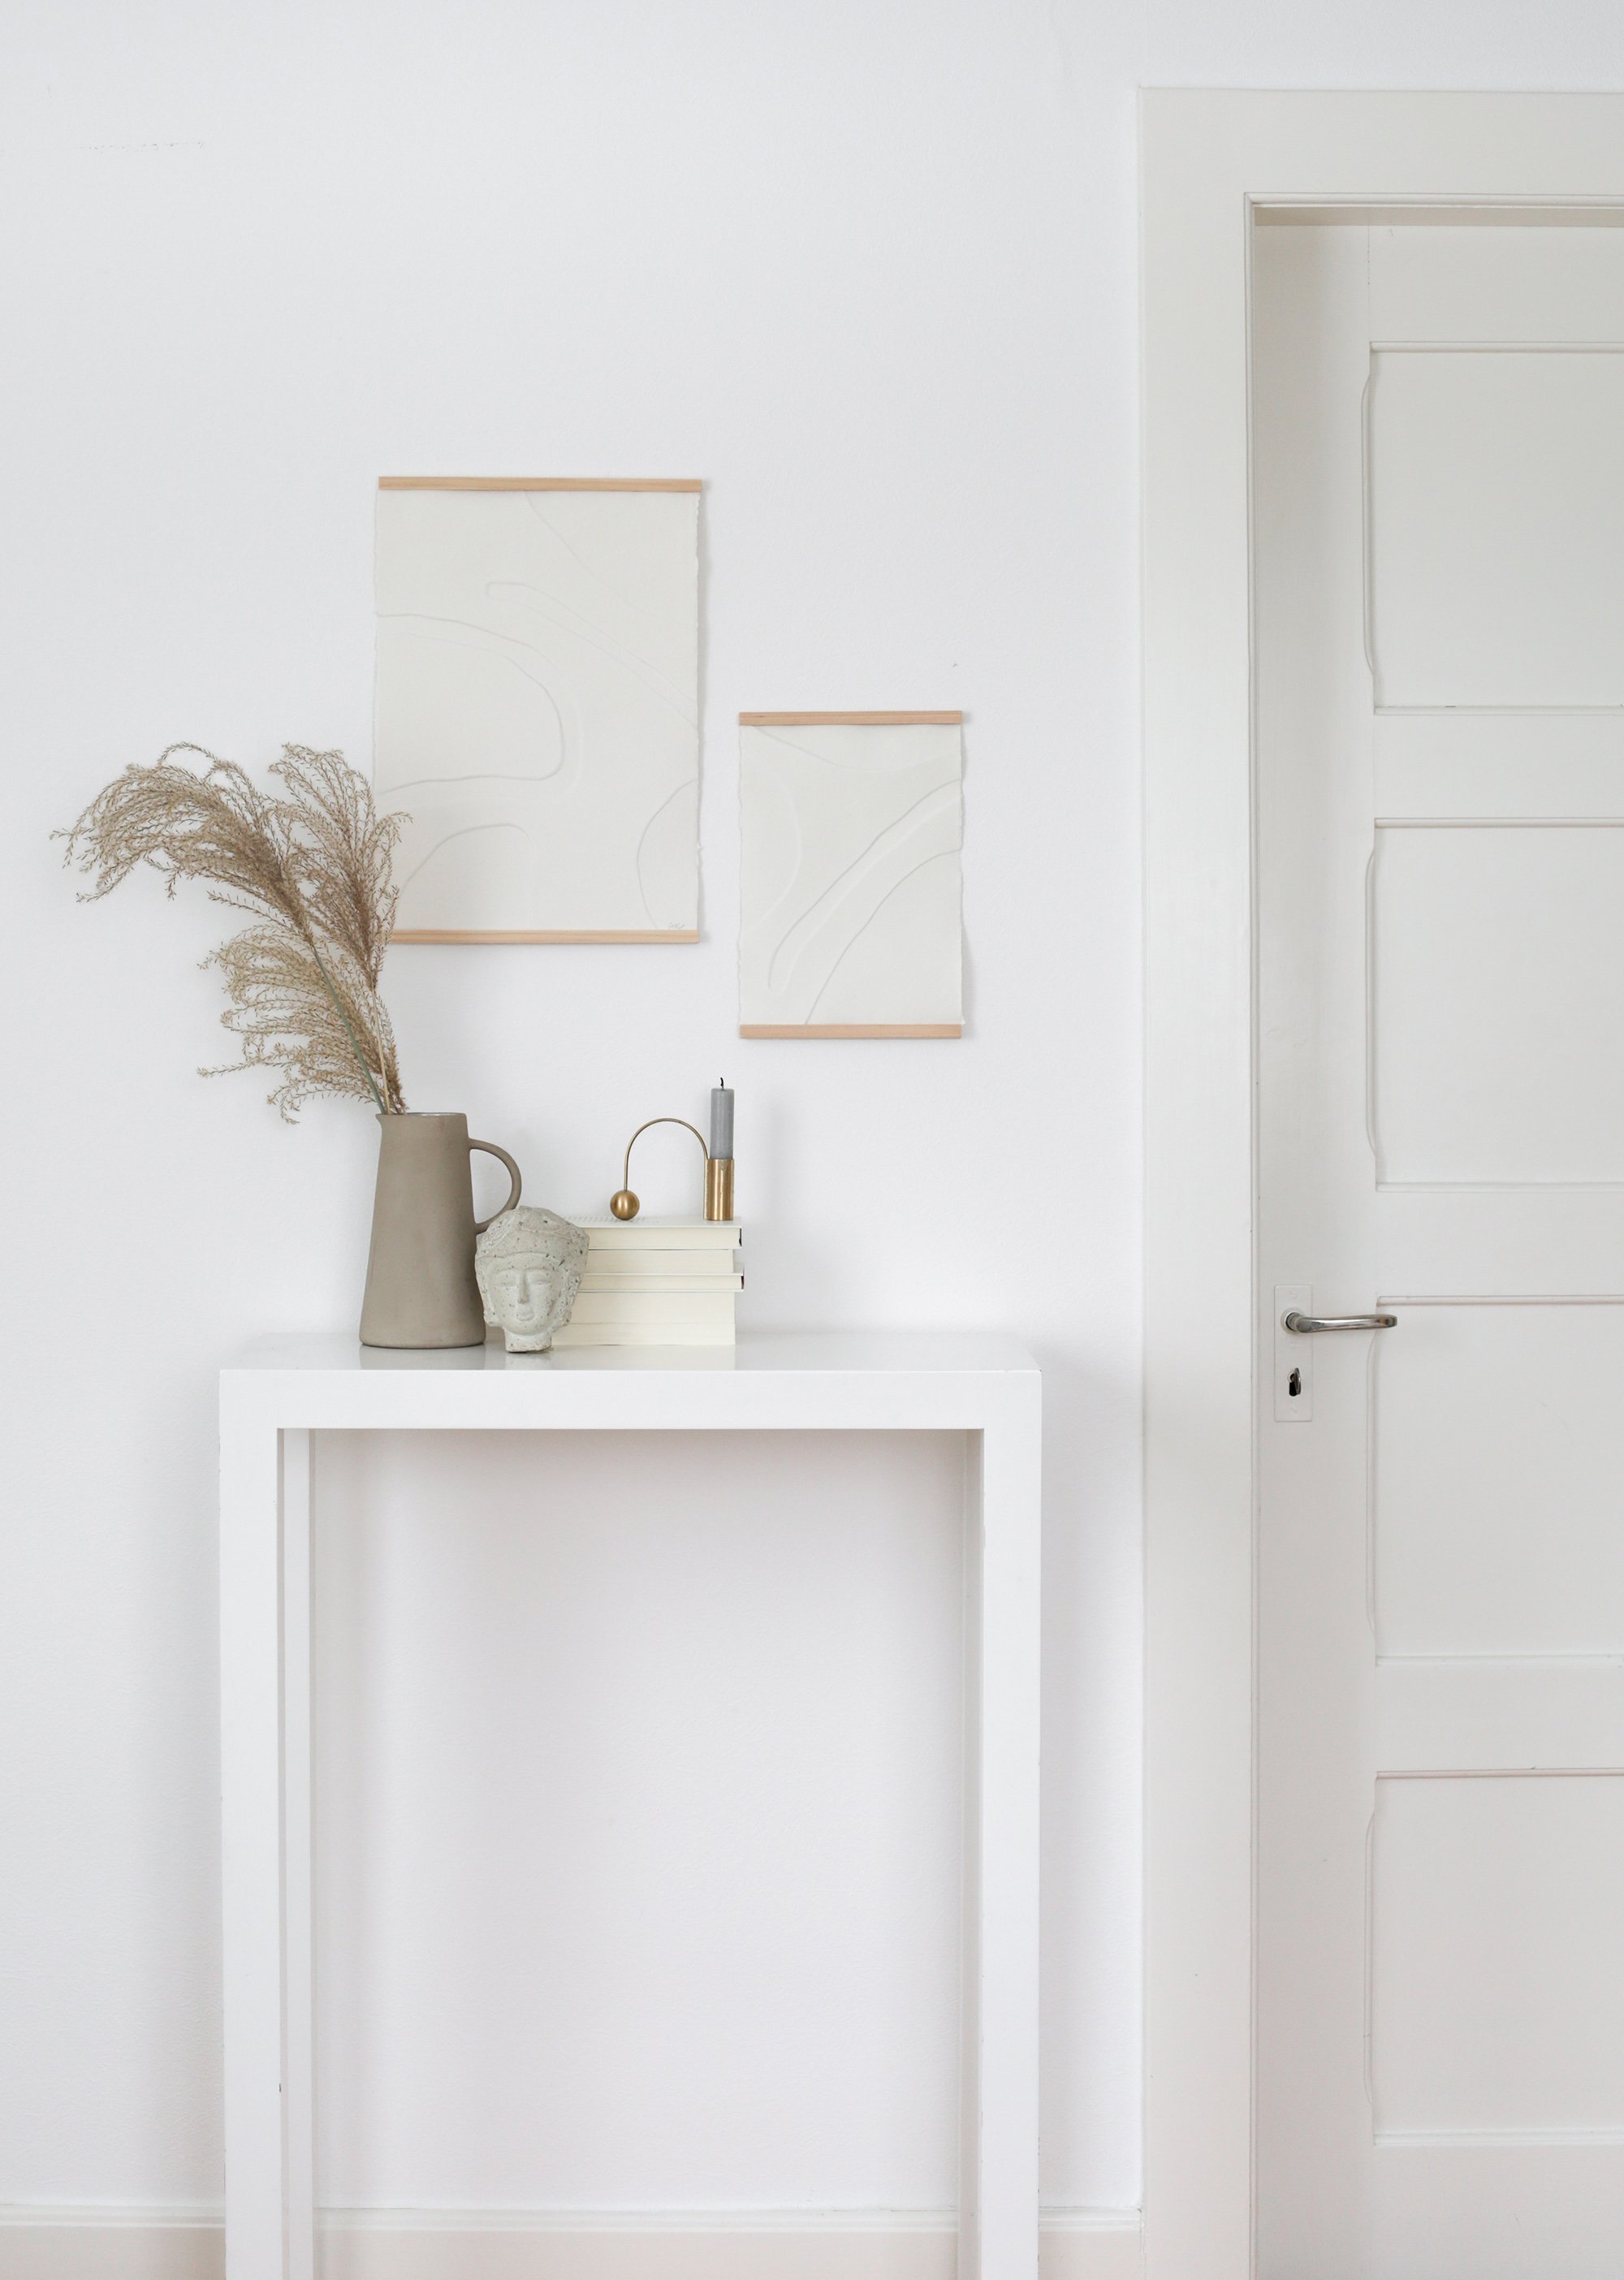
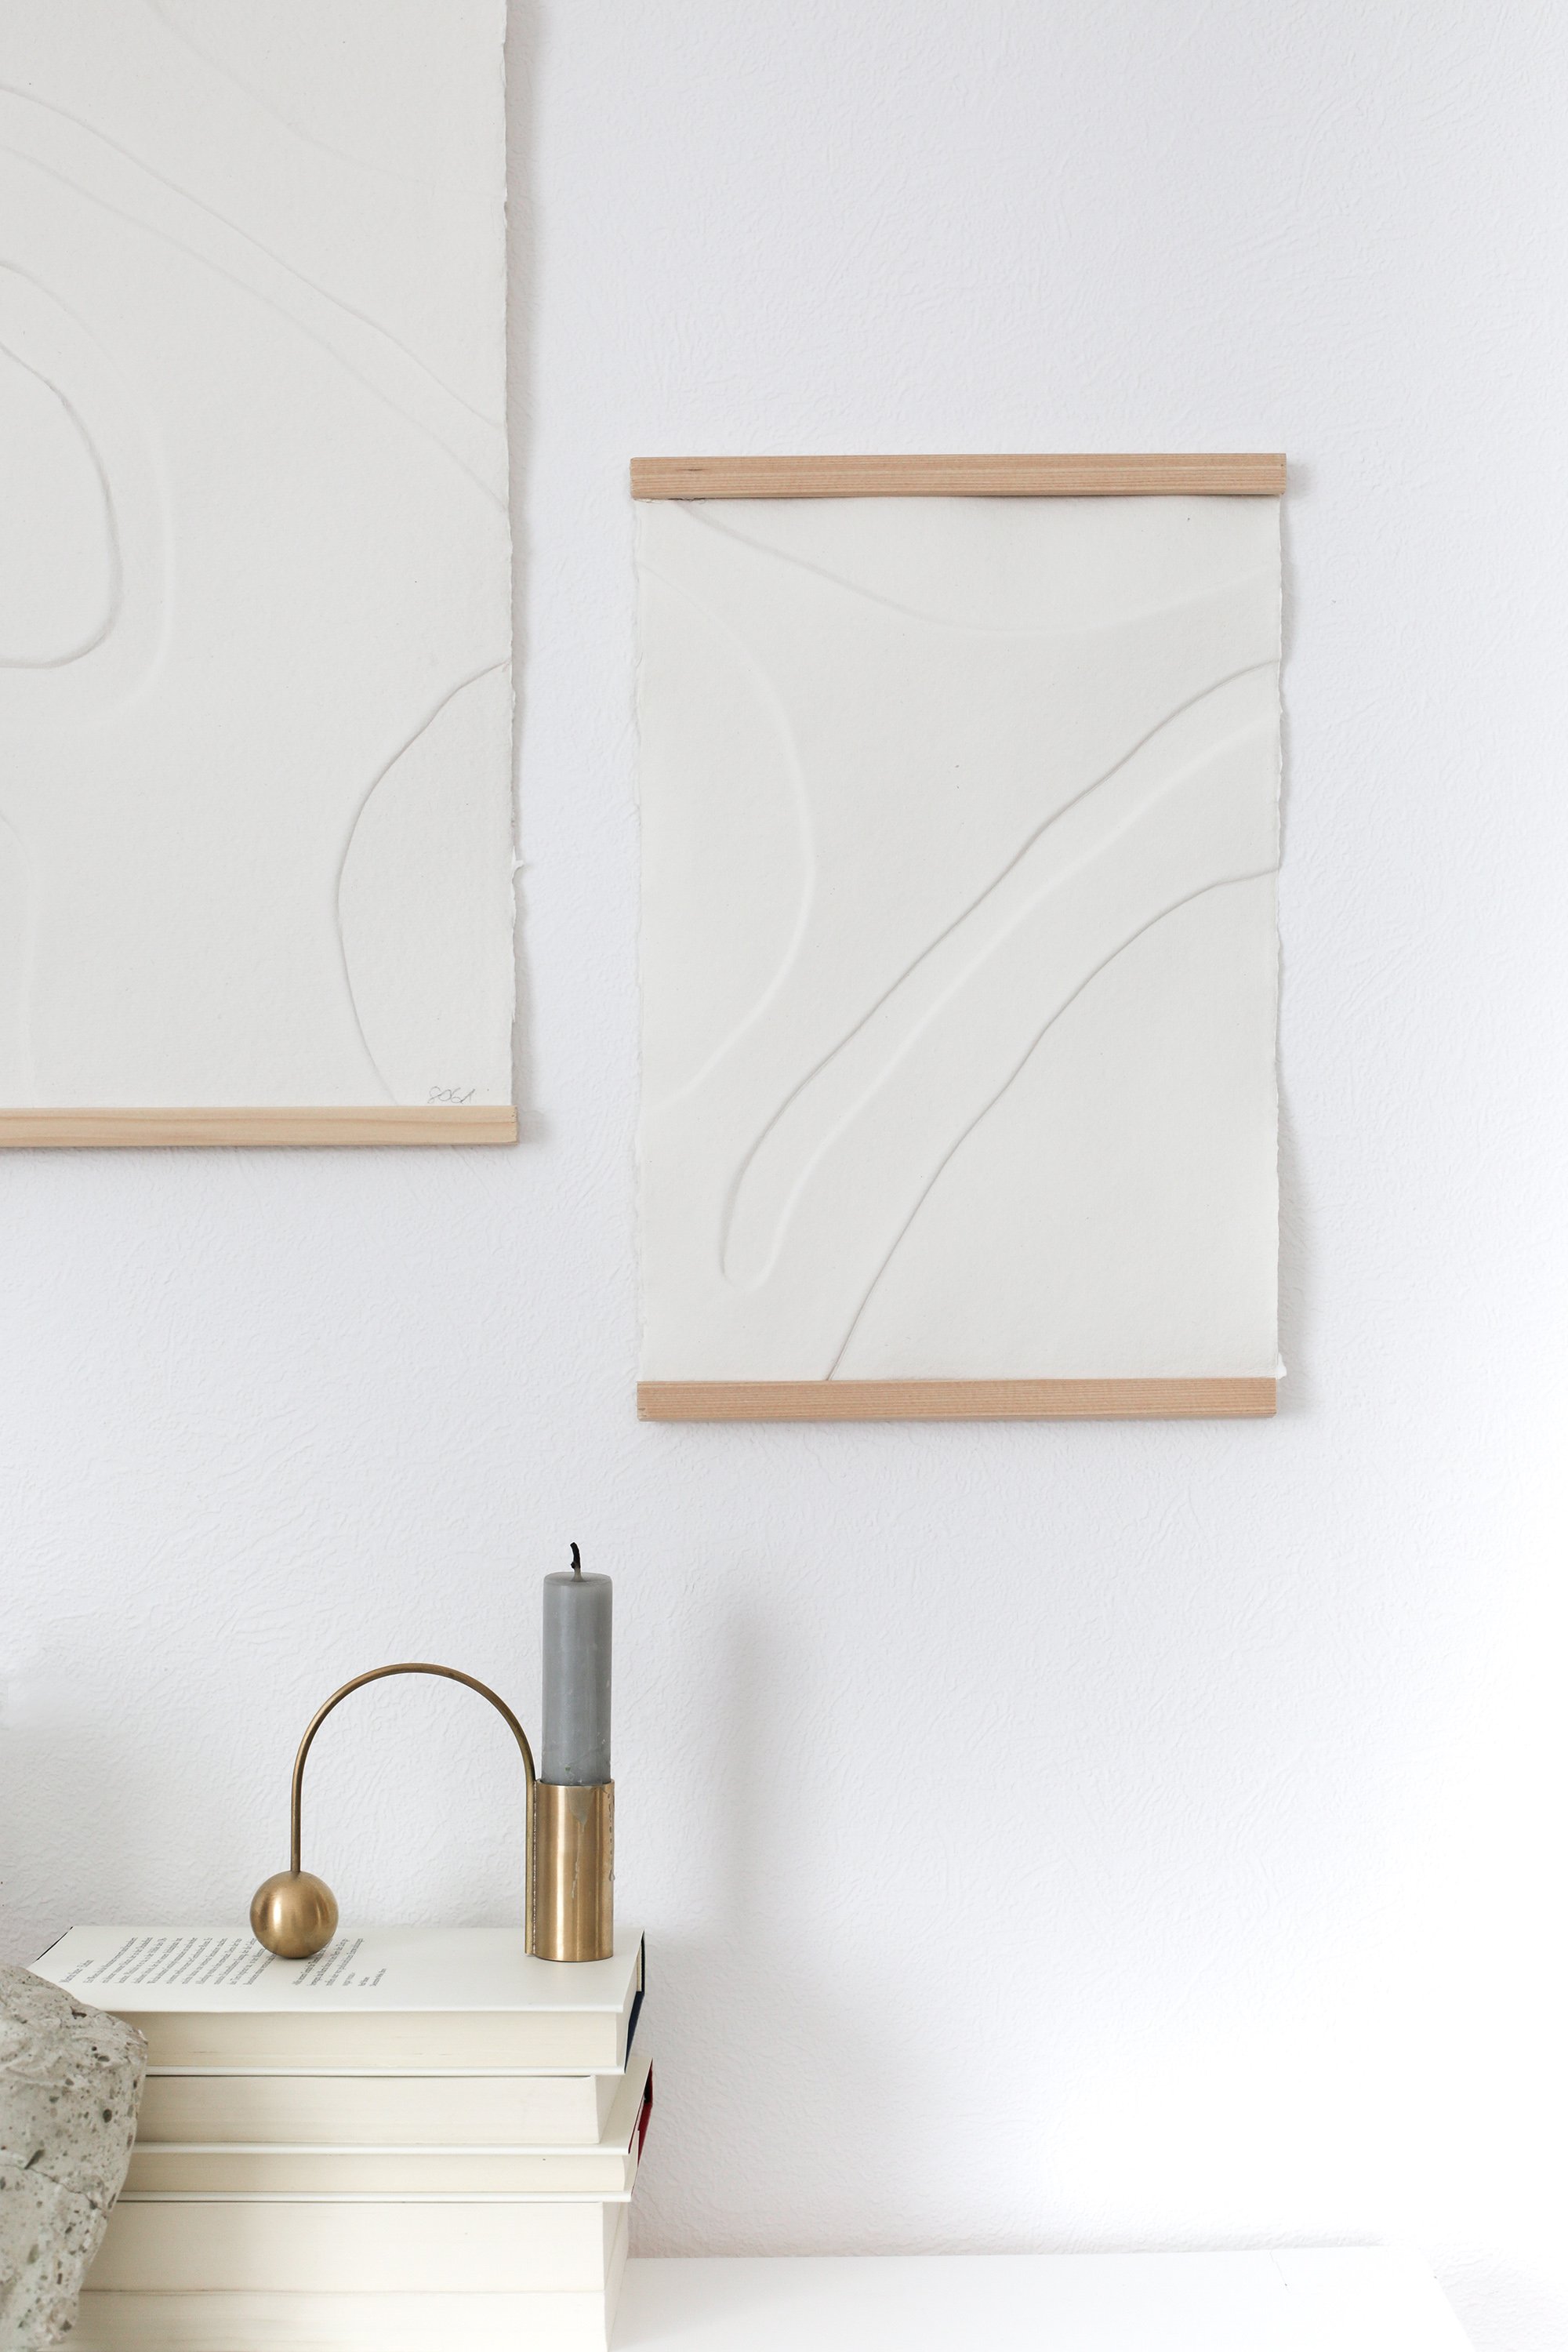
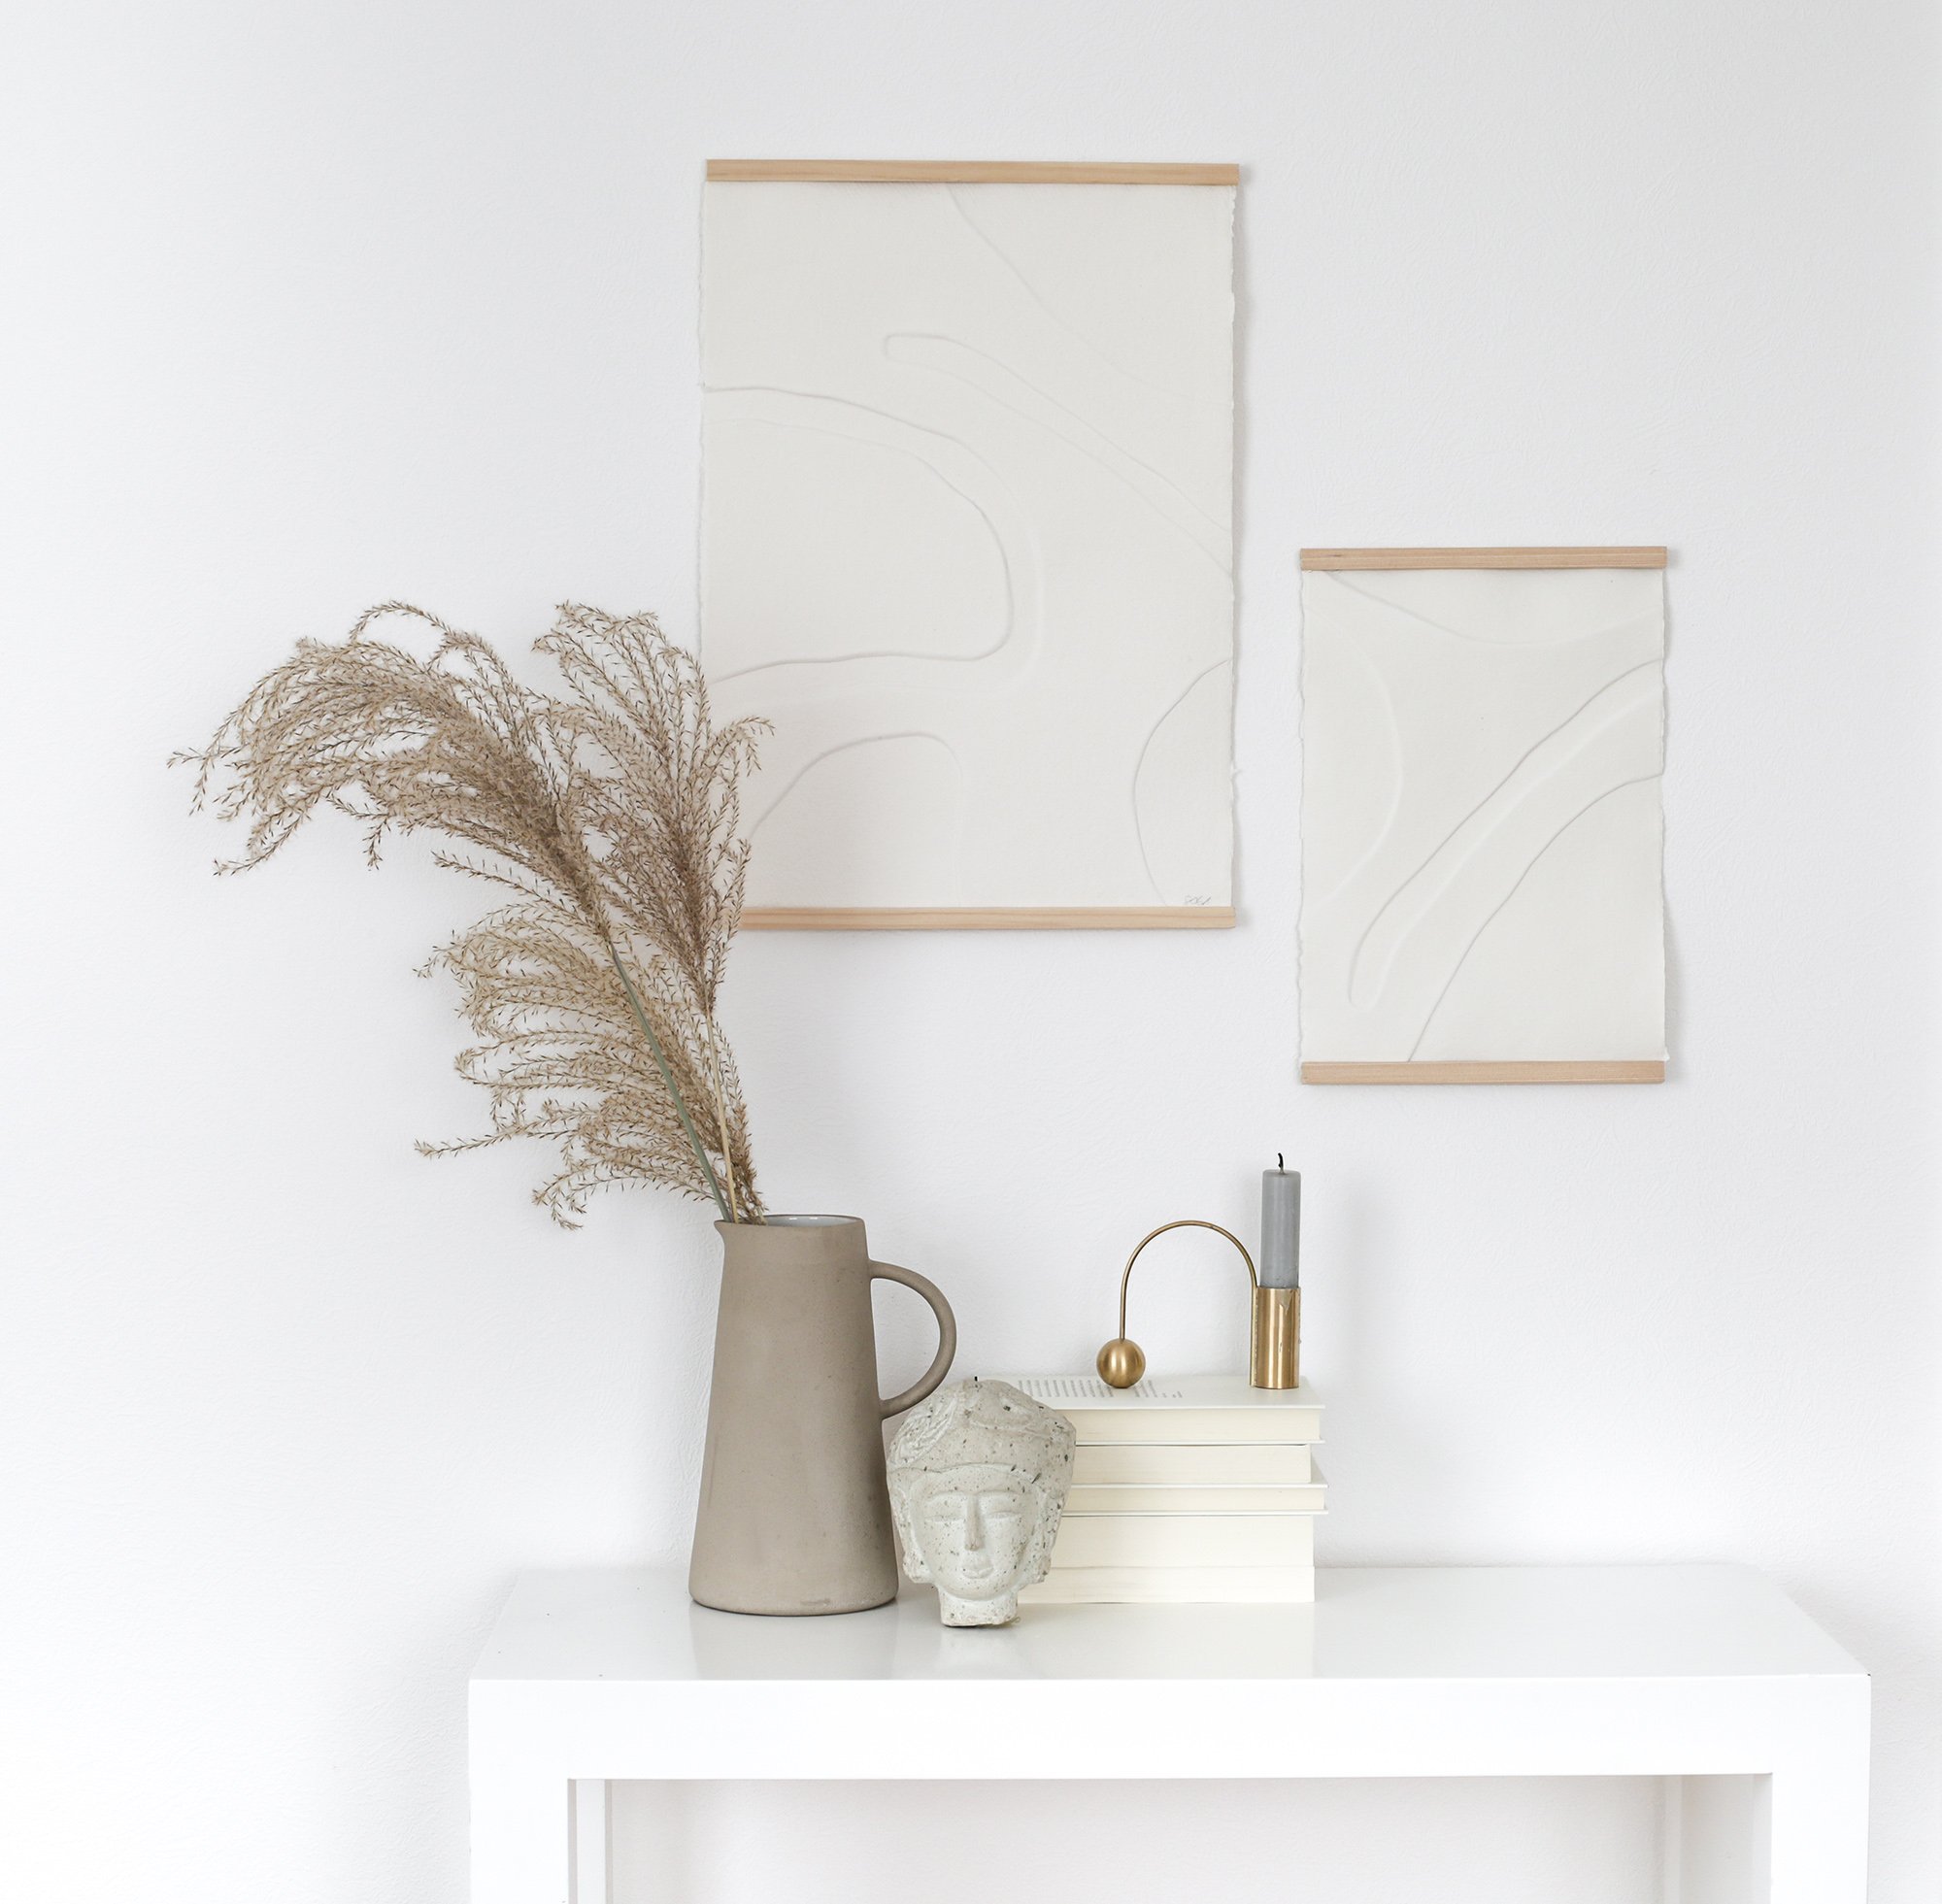
Hello dear Passion Shake readers, it’s Patrizia here and I’m so happy to be back with a new DIY project. This time we are going to create some art. Don’t worry, I’m not expecting you to unleash your inner Picasso, all you need is some cardboard, a sheet of aquarelle paper and a few cool shapes. No genius needed here, I promise. I was on the lookout for some new art for our home and stumbled across this technique somewhere on Pinterest. I was immediately enchanted by the idea of forming and working with paper and tried it out right away. Besides the fact that my new art pieces look beautiful in our house, they are super easy to make and look fantastic on a simple wooden clip frame. Convinced?
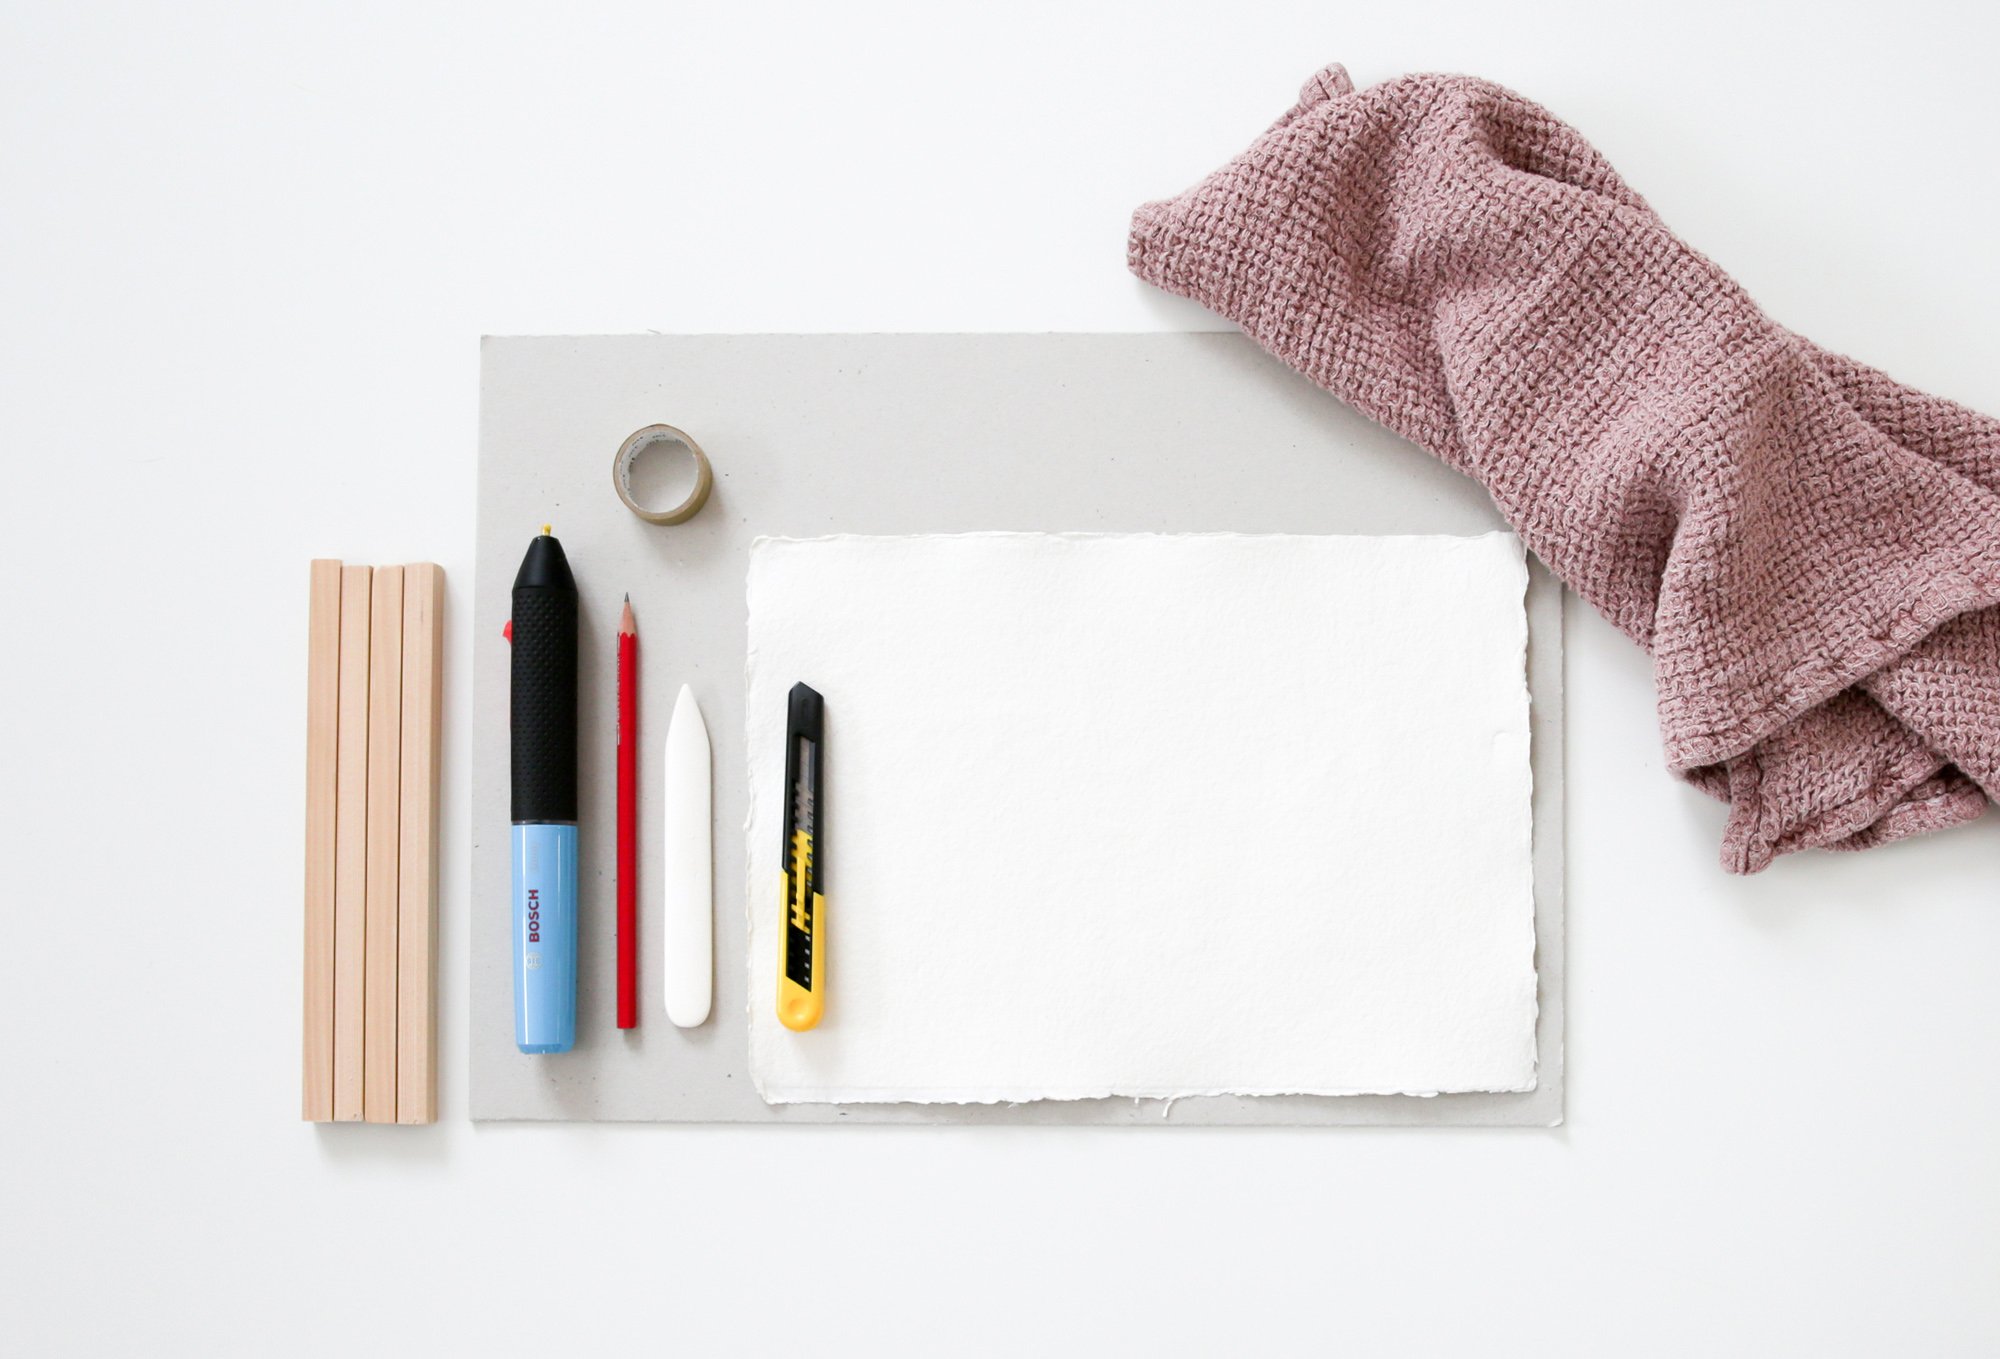
Then here is what you need to get started:
- aquarelle paper
- thick cardboard
- pencil
- precision knife
- tape
- hot glue gun
- bone folder
- a towel and four 12mm hardwood strips in the length of your paper
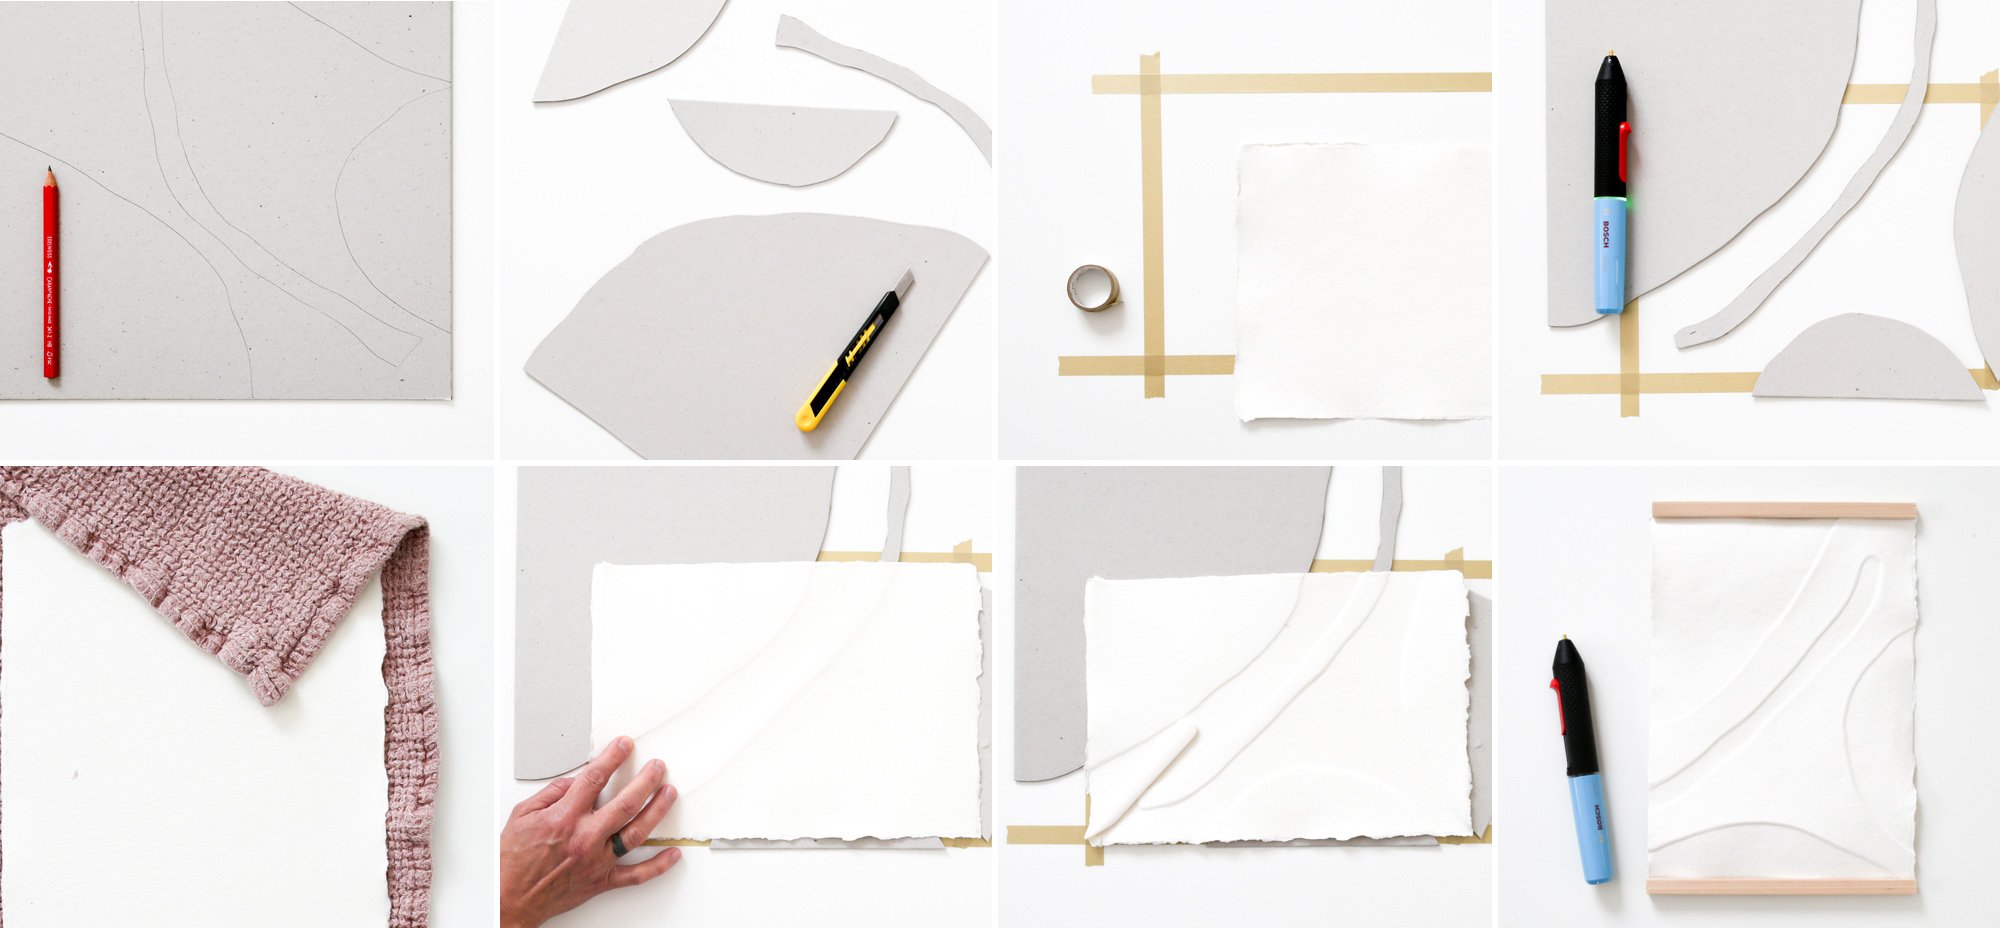
Instructions: Start by drawing different shapes onto the cardboard and cut them out using the precision knife. Mark the outline of your aquarelle paper on a smooth surface with the tape. Place your cardboard shapes within the marked area to get the desired look. Secure the shapes with a few drops of hot glue. Meanwhile, soak the aquarelle paper in cold water for about 30 minutes. Remove the paper from the water and pat dry with the towel so it’s not dripping wet. Place the wet paper on top of the cardboard shapes. Using your fingers, press the paper down to get the outlines of the shapes underneath. Then use the bone folder to press the paper further down. Be sure to not rub the paper too much since it will become flaky. Repeat with the other shapes and let dry completely. Place the artwork between two wooden strips and secure them with some hot glue.
If you don’t want to make your own frame, or if you don’t have the right size wood at home, just use a pant hanger from IKEA or simply pin the art onto your wall with a decorative needle or a simple binder clip.
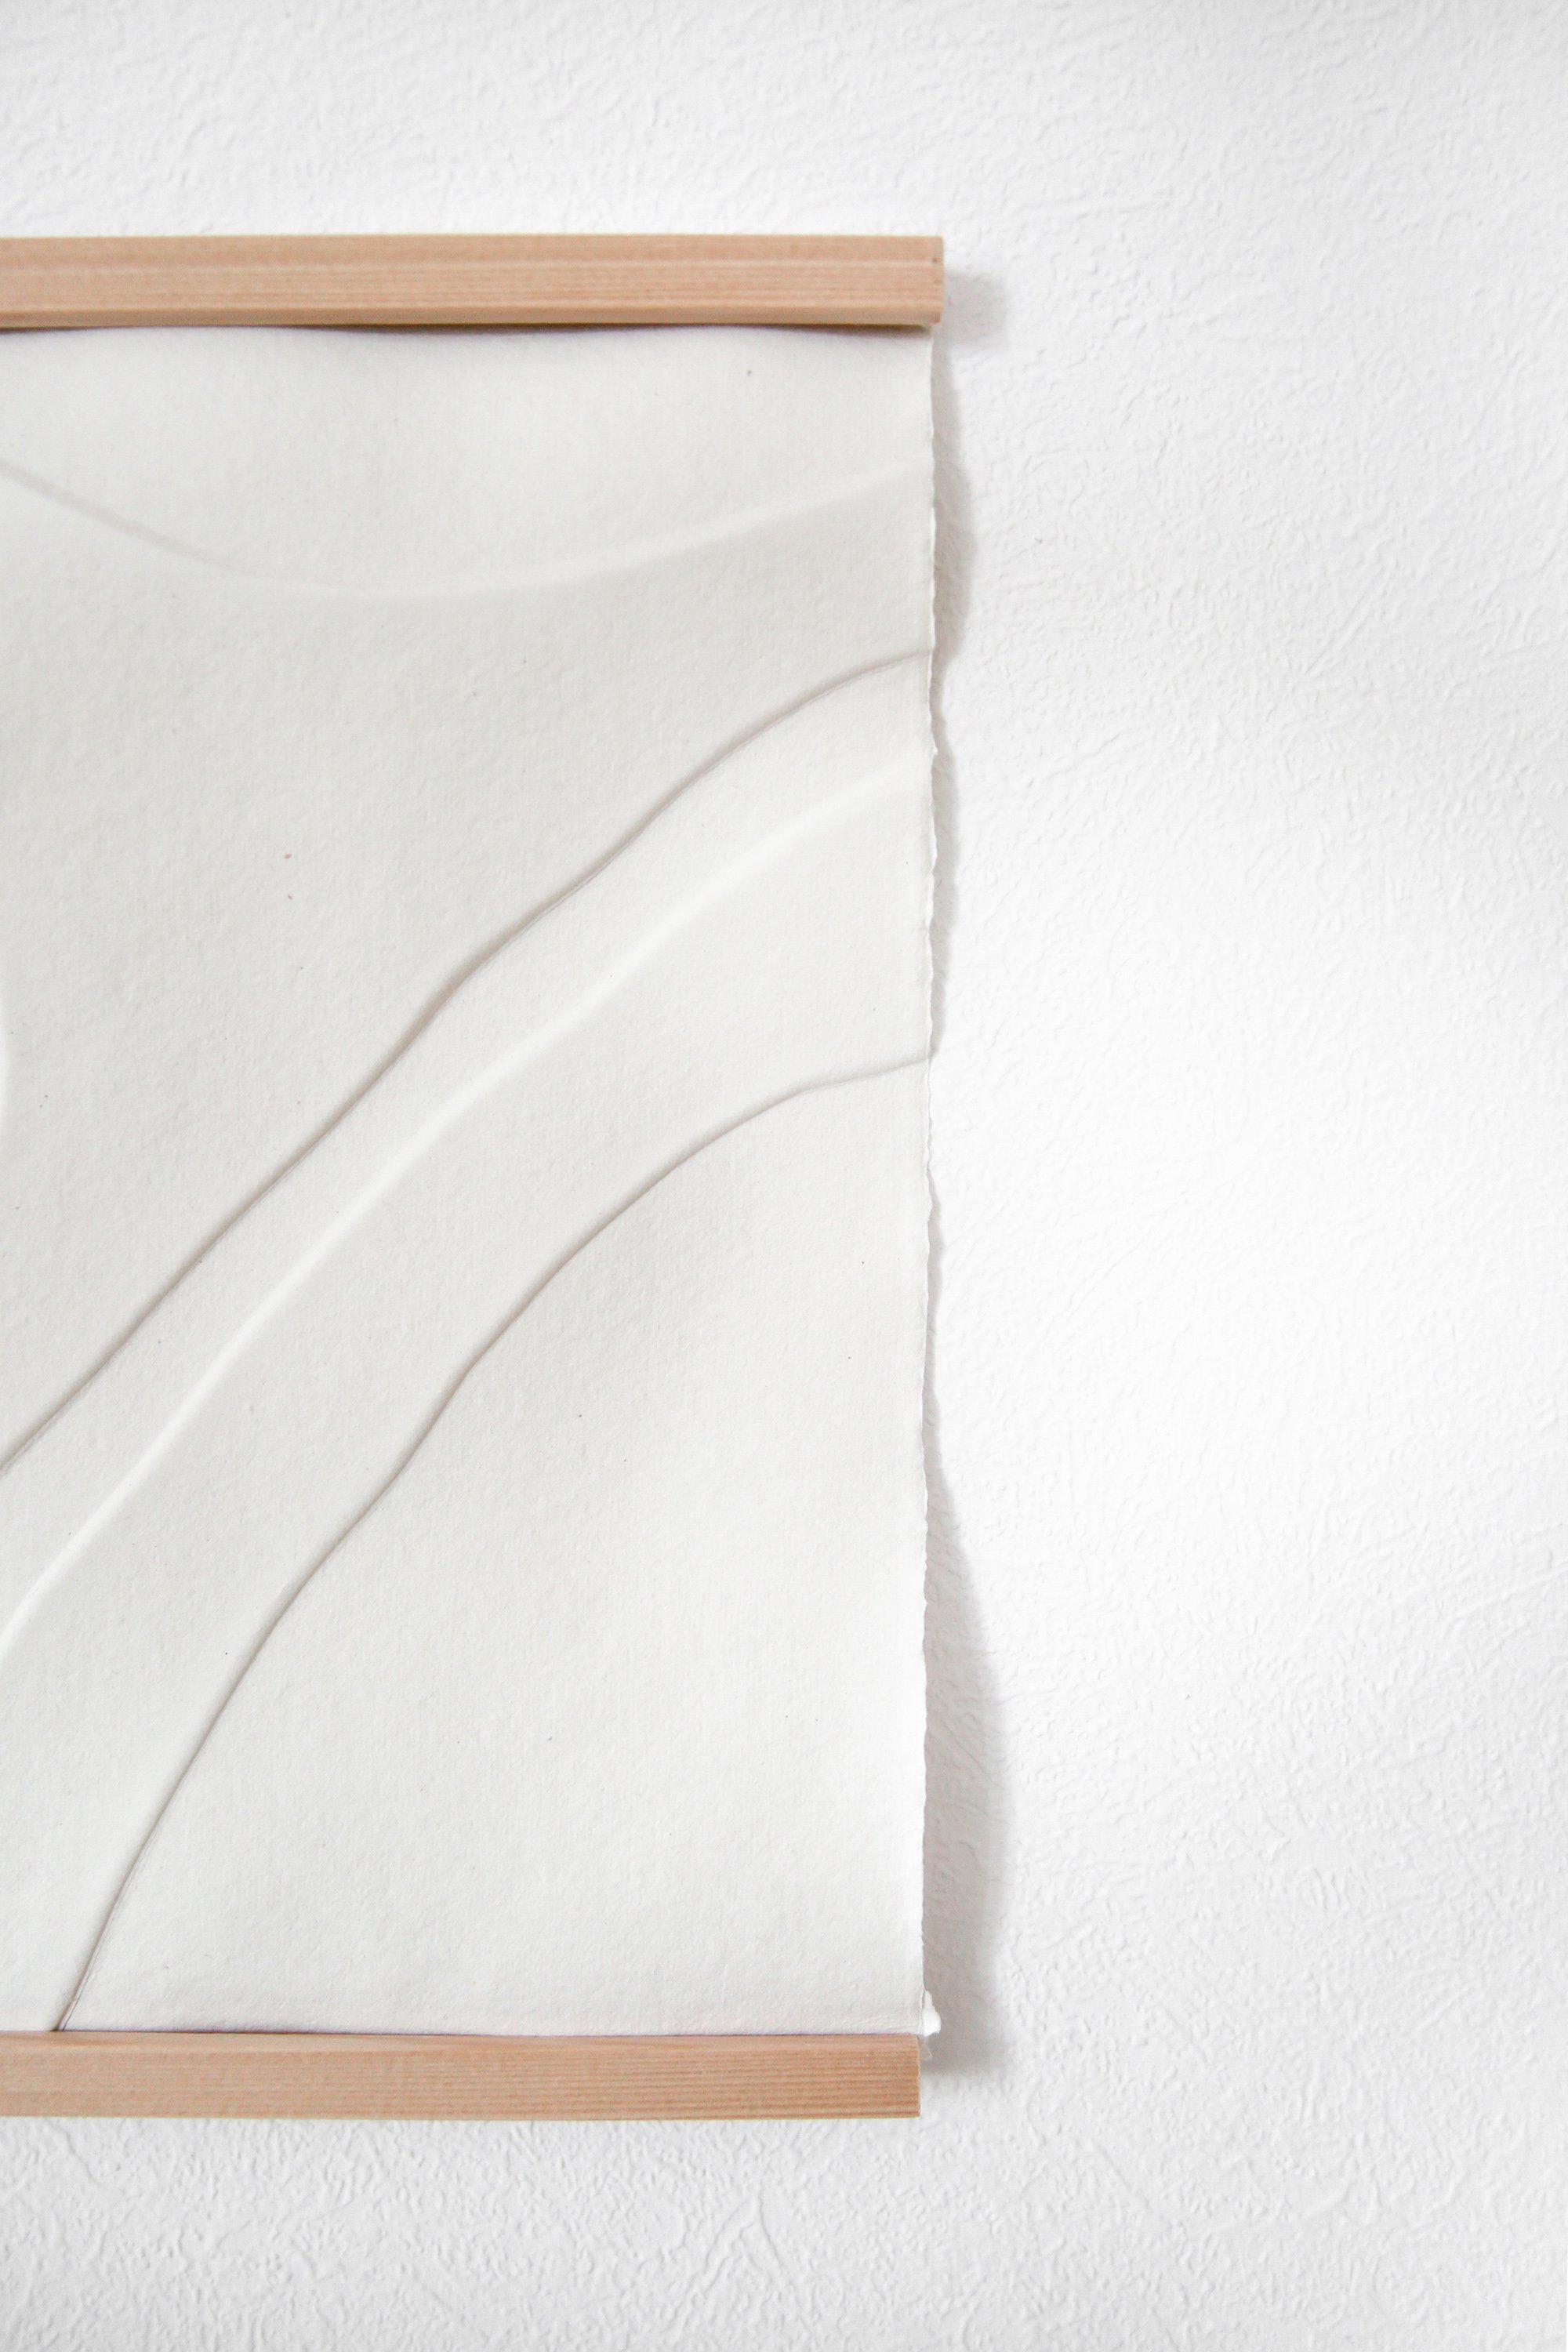
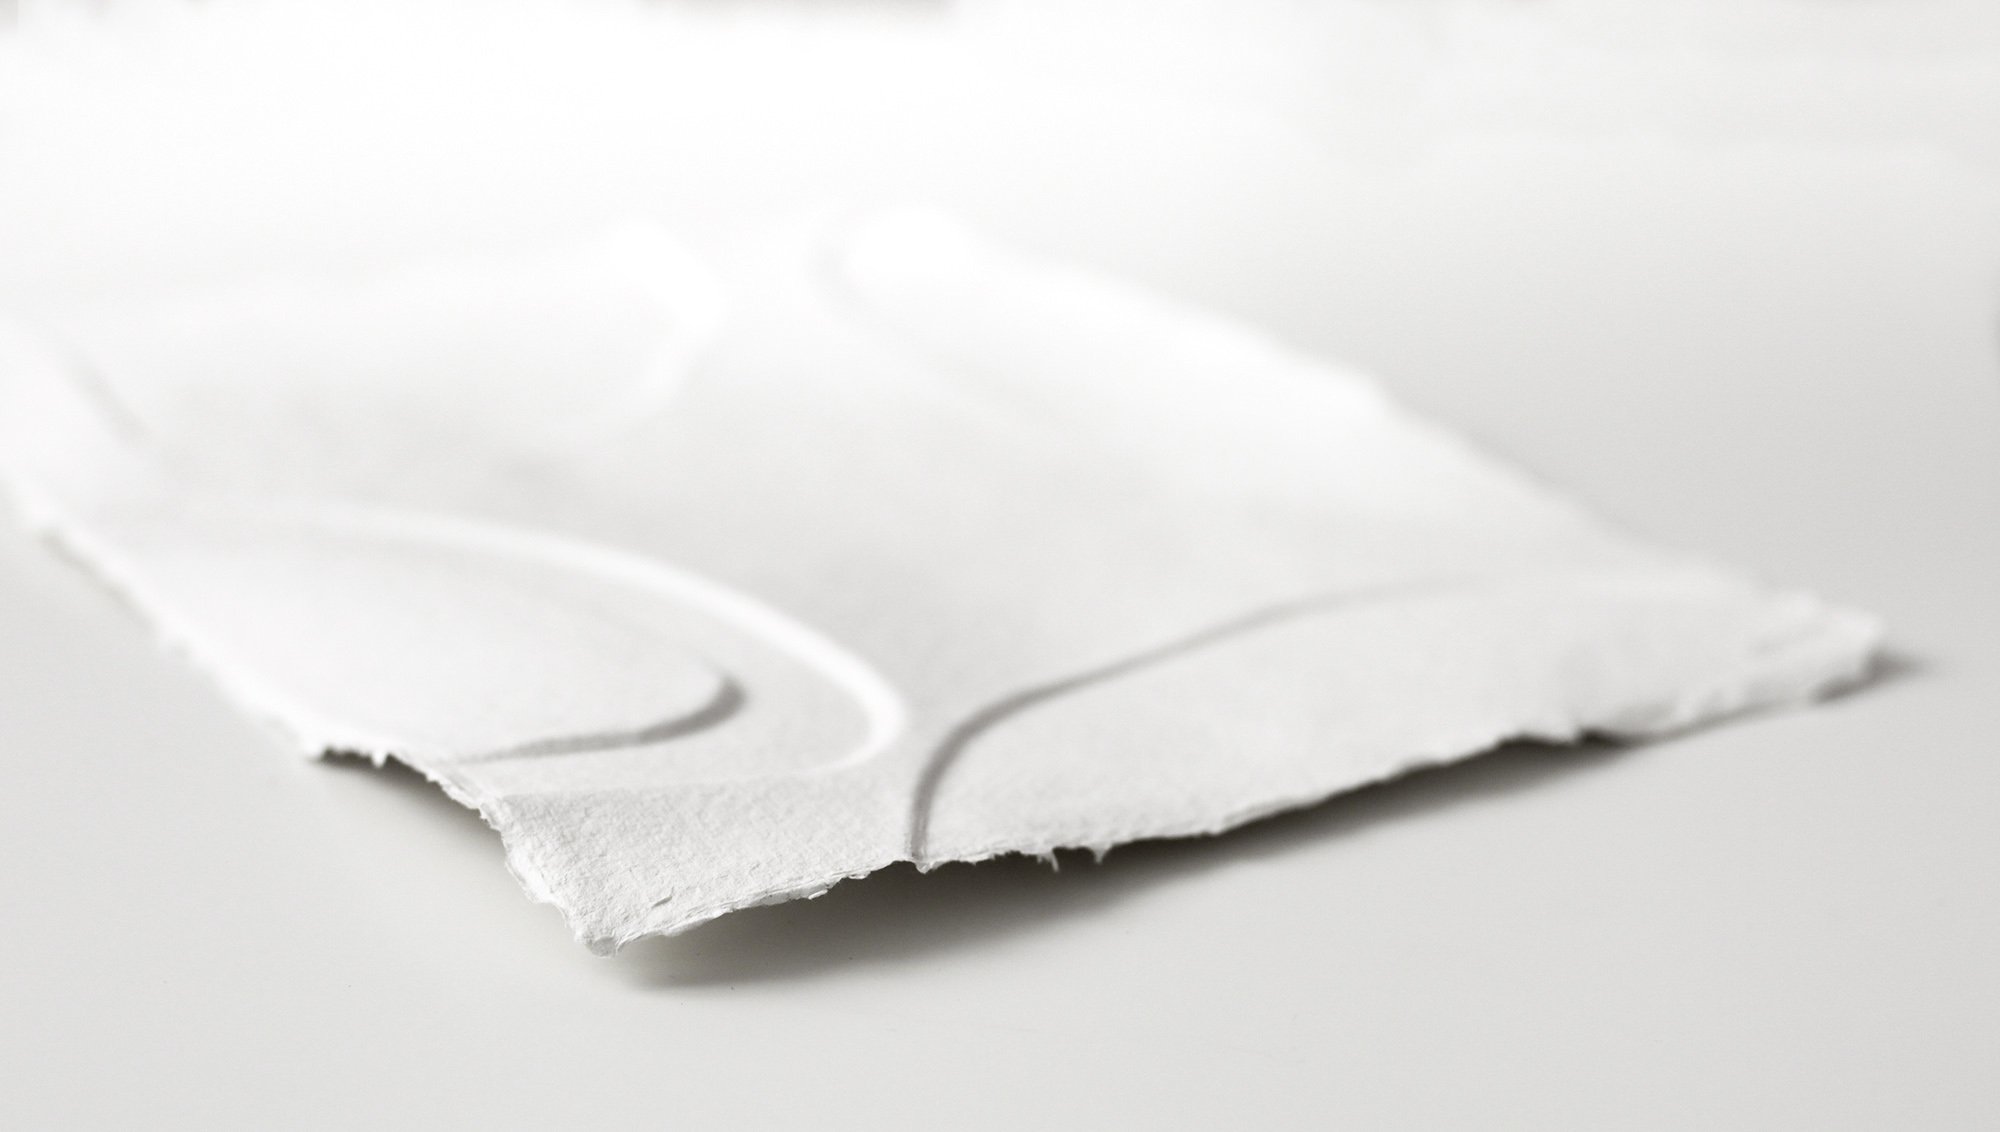
Now all you have to do is find the perfect spot for your new masterpieces and start decorating. I paired them with natural elements like ceramics, dried flowers and some books. If you fancy a larger group of art, just use different sizes of aquarelle paper and vary the forms and shapes you us to emboss.
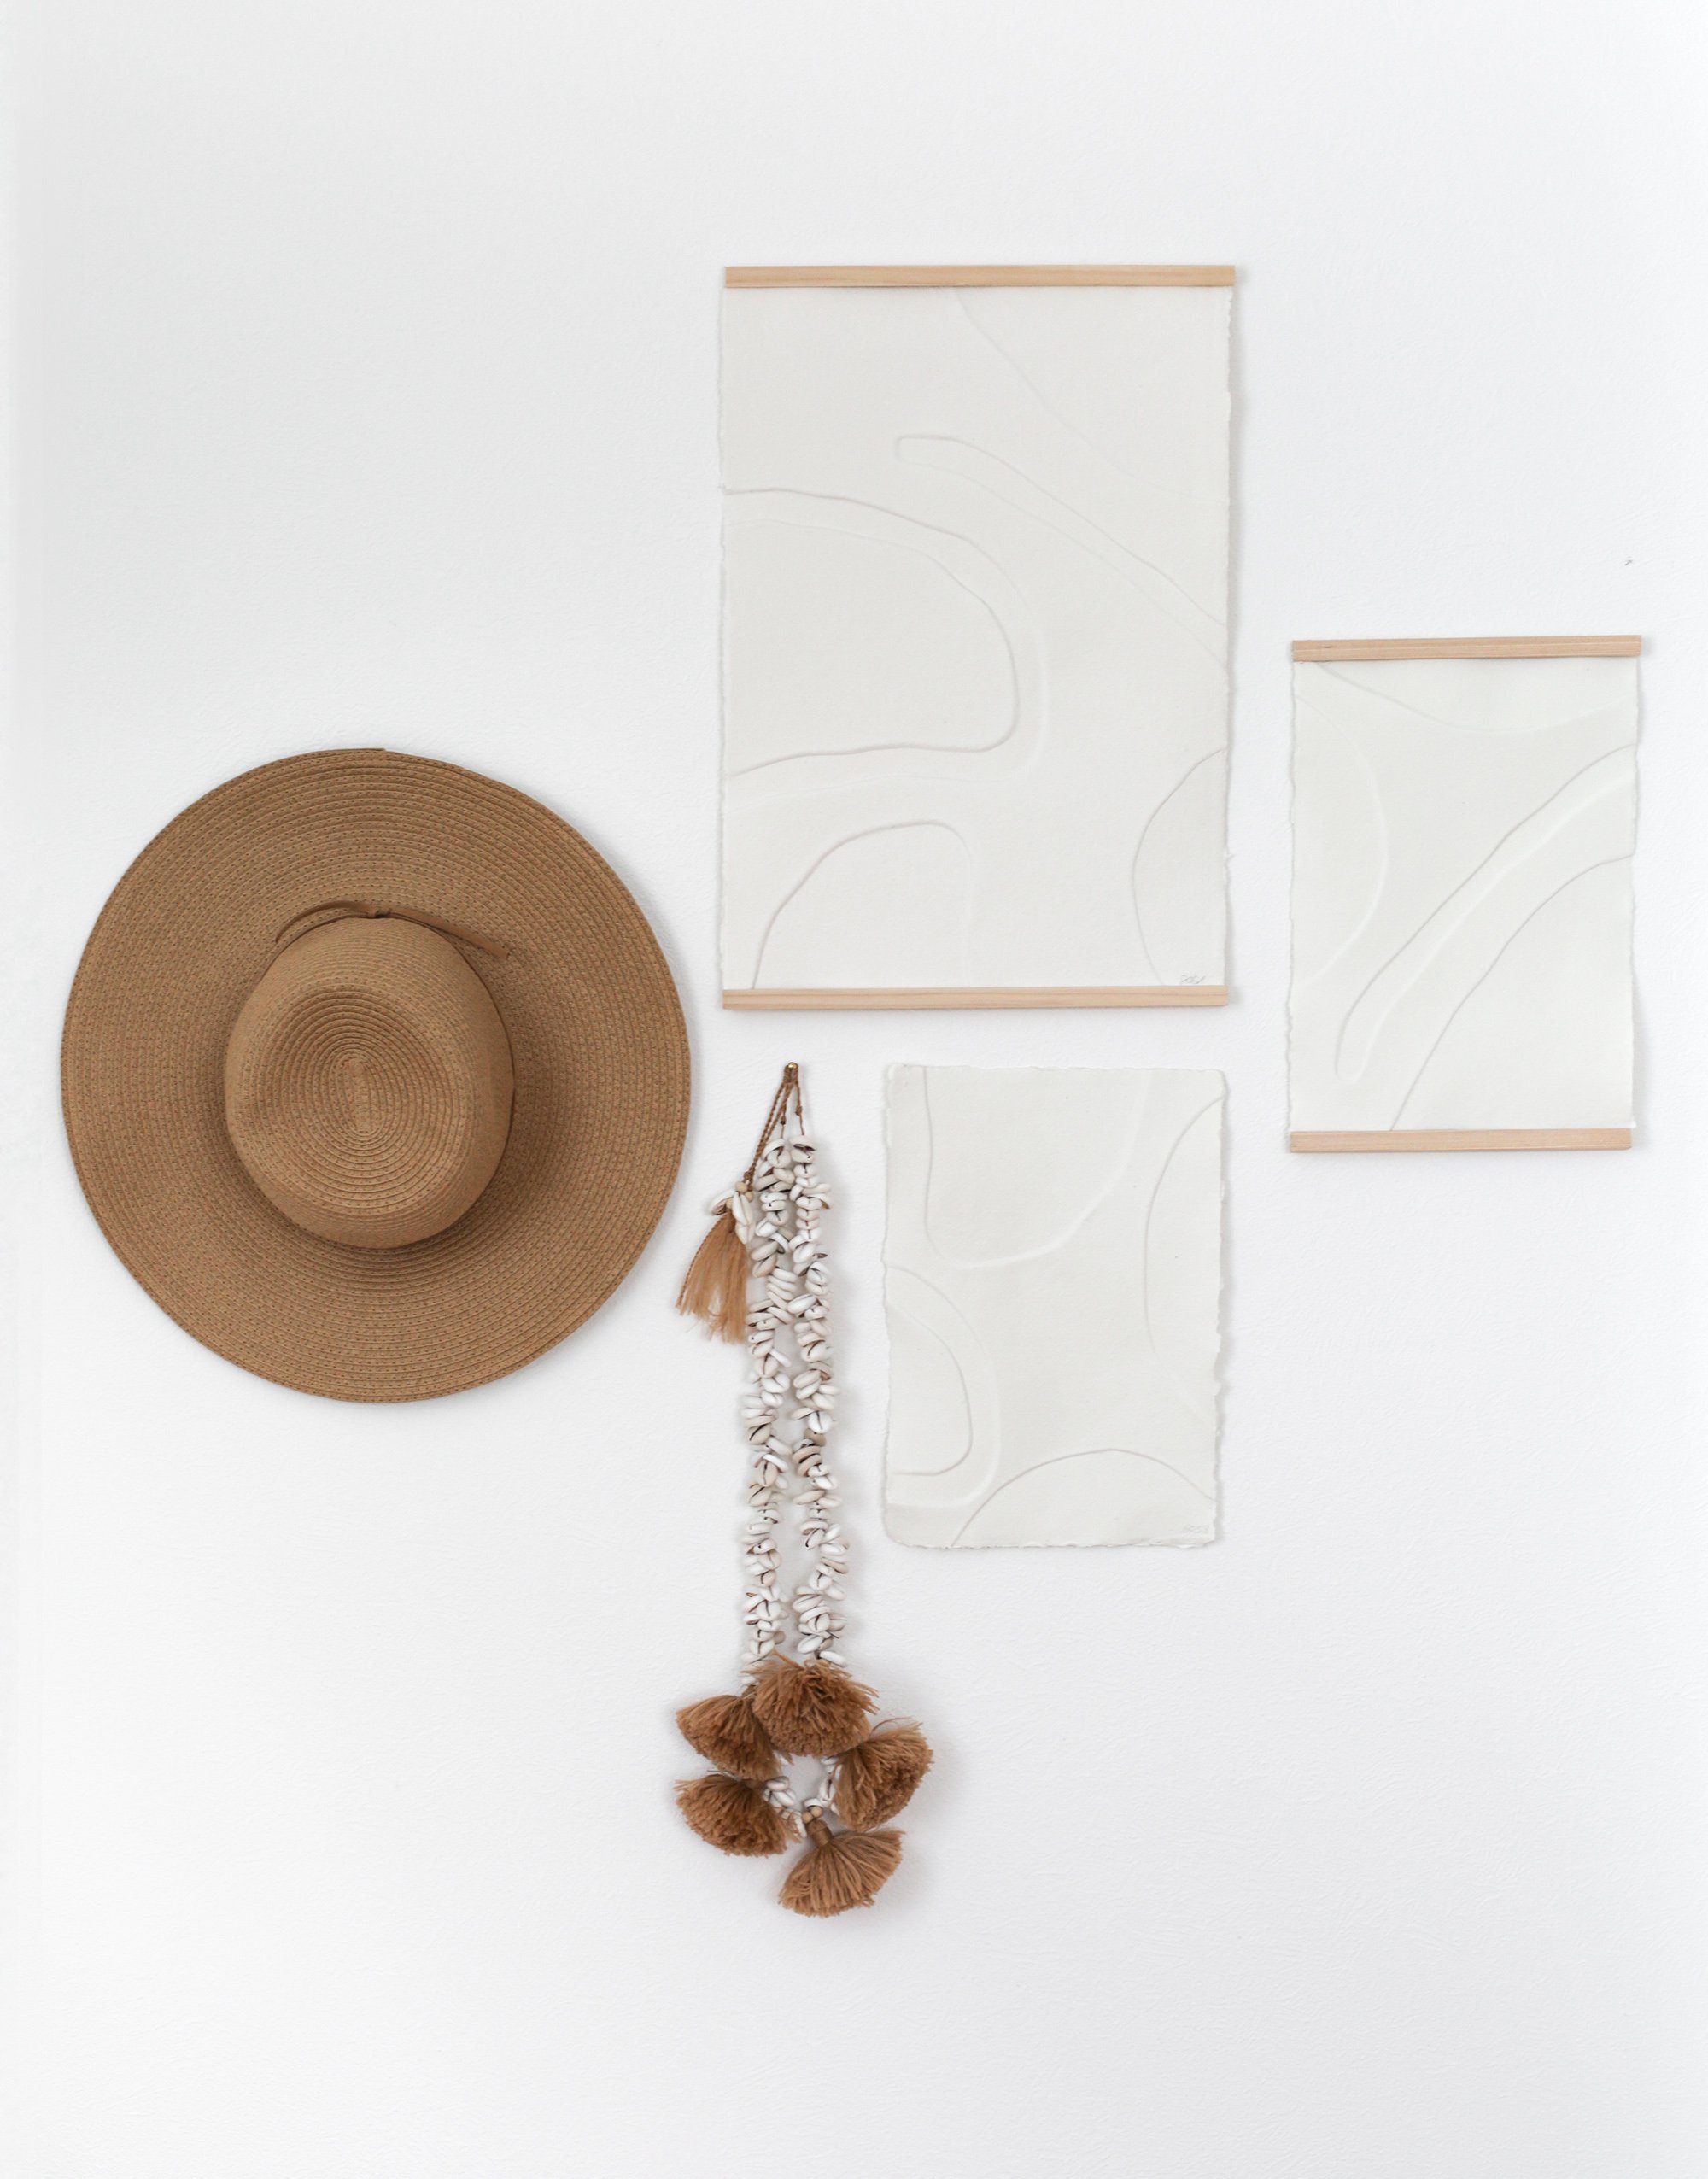
What you think? Do you like this little DIY? I would love to hear your thoughts on making your own art for your home.
See you all next month!
Photography, Text & Styling: Patrizia Furrer for Passionshake

