Hello dear Passion Shake readers!
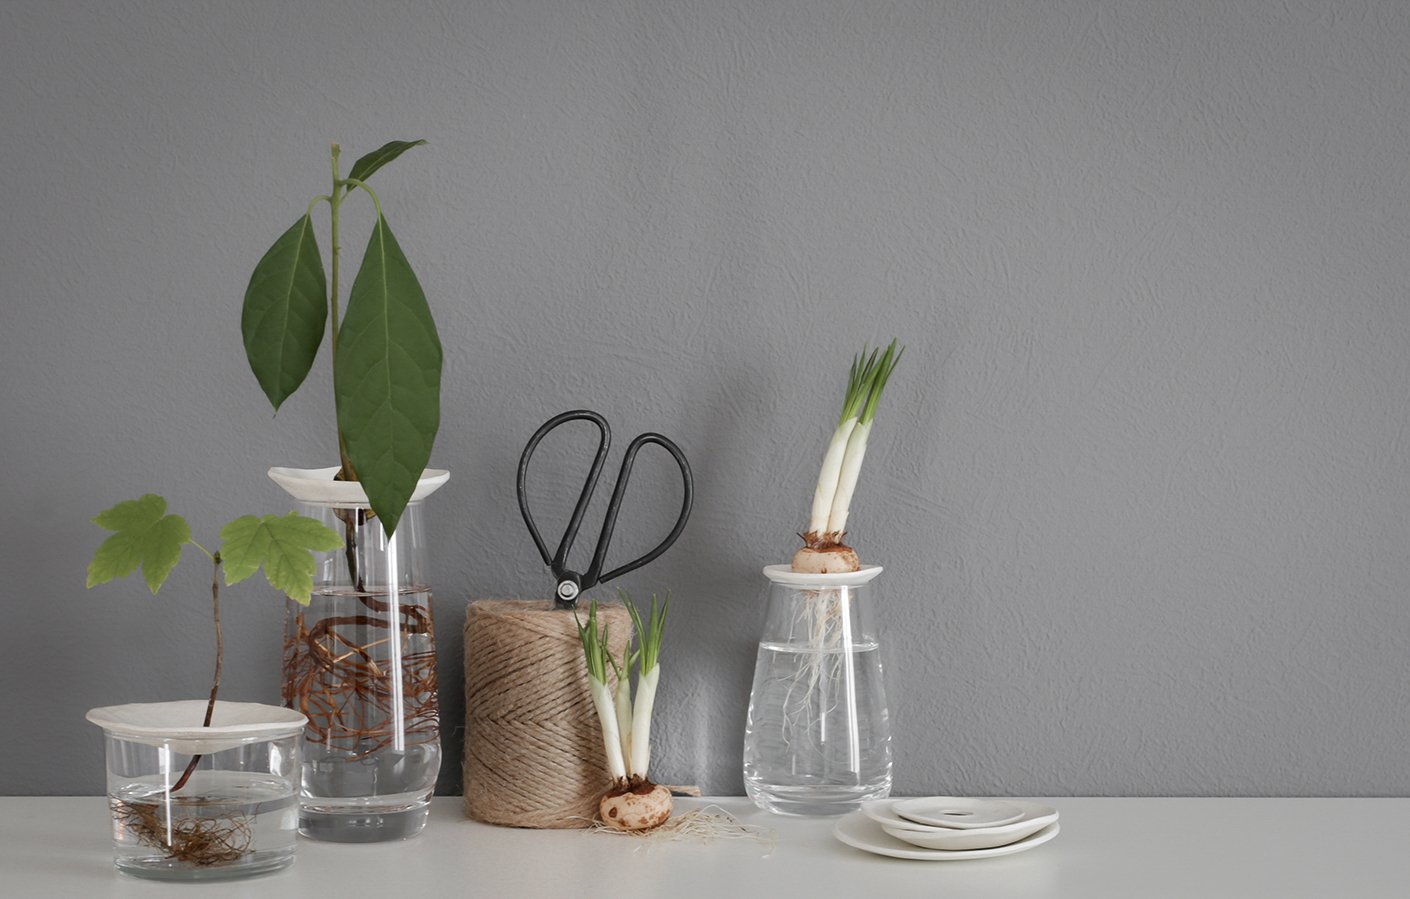
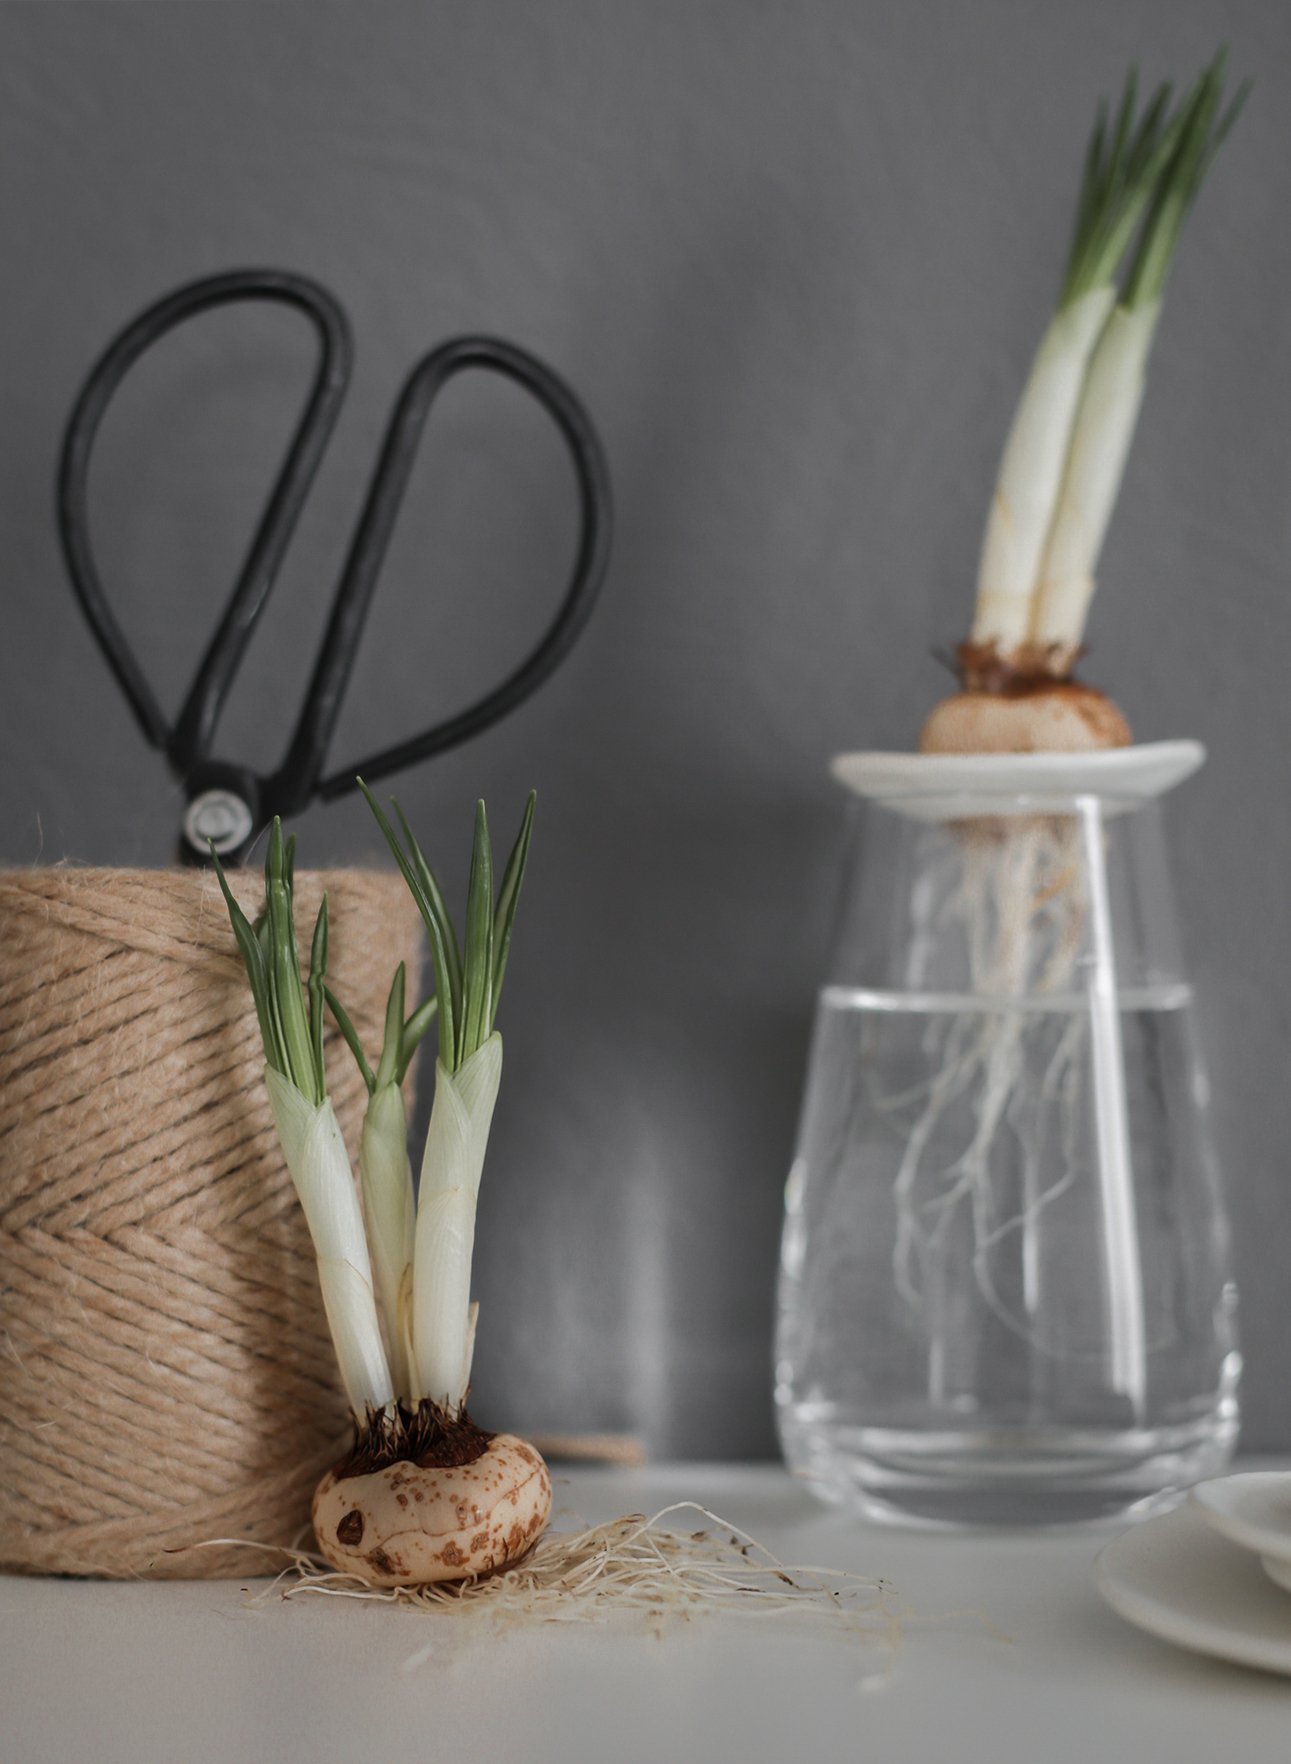
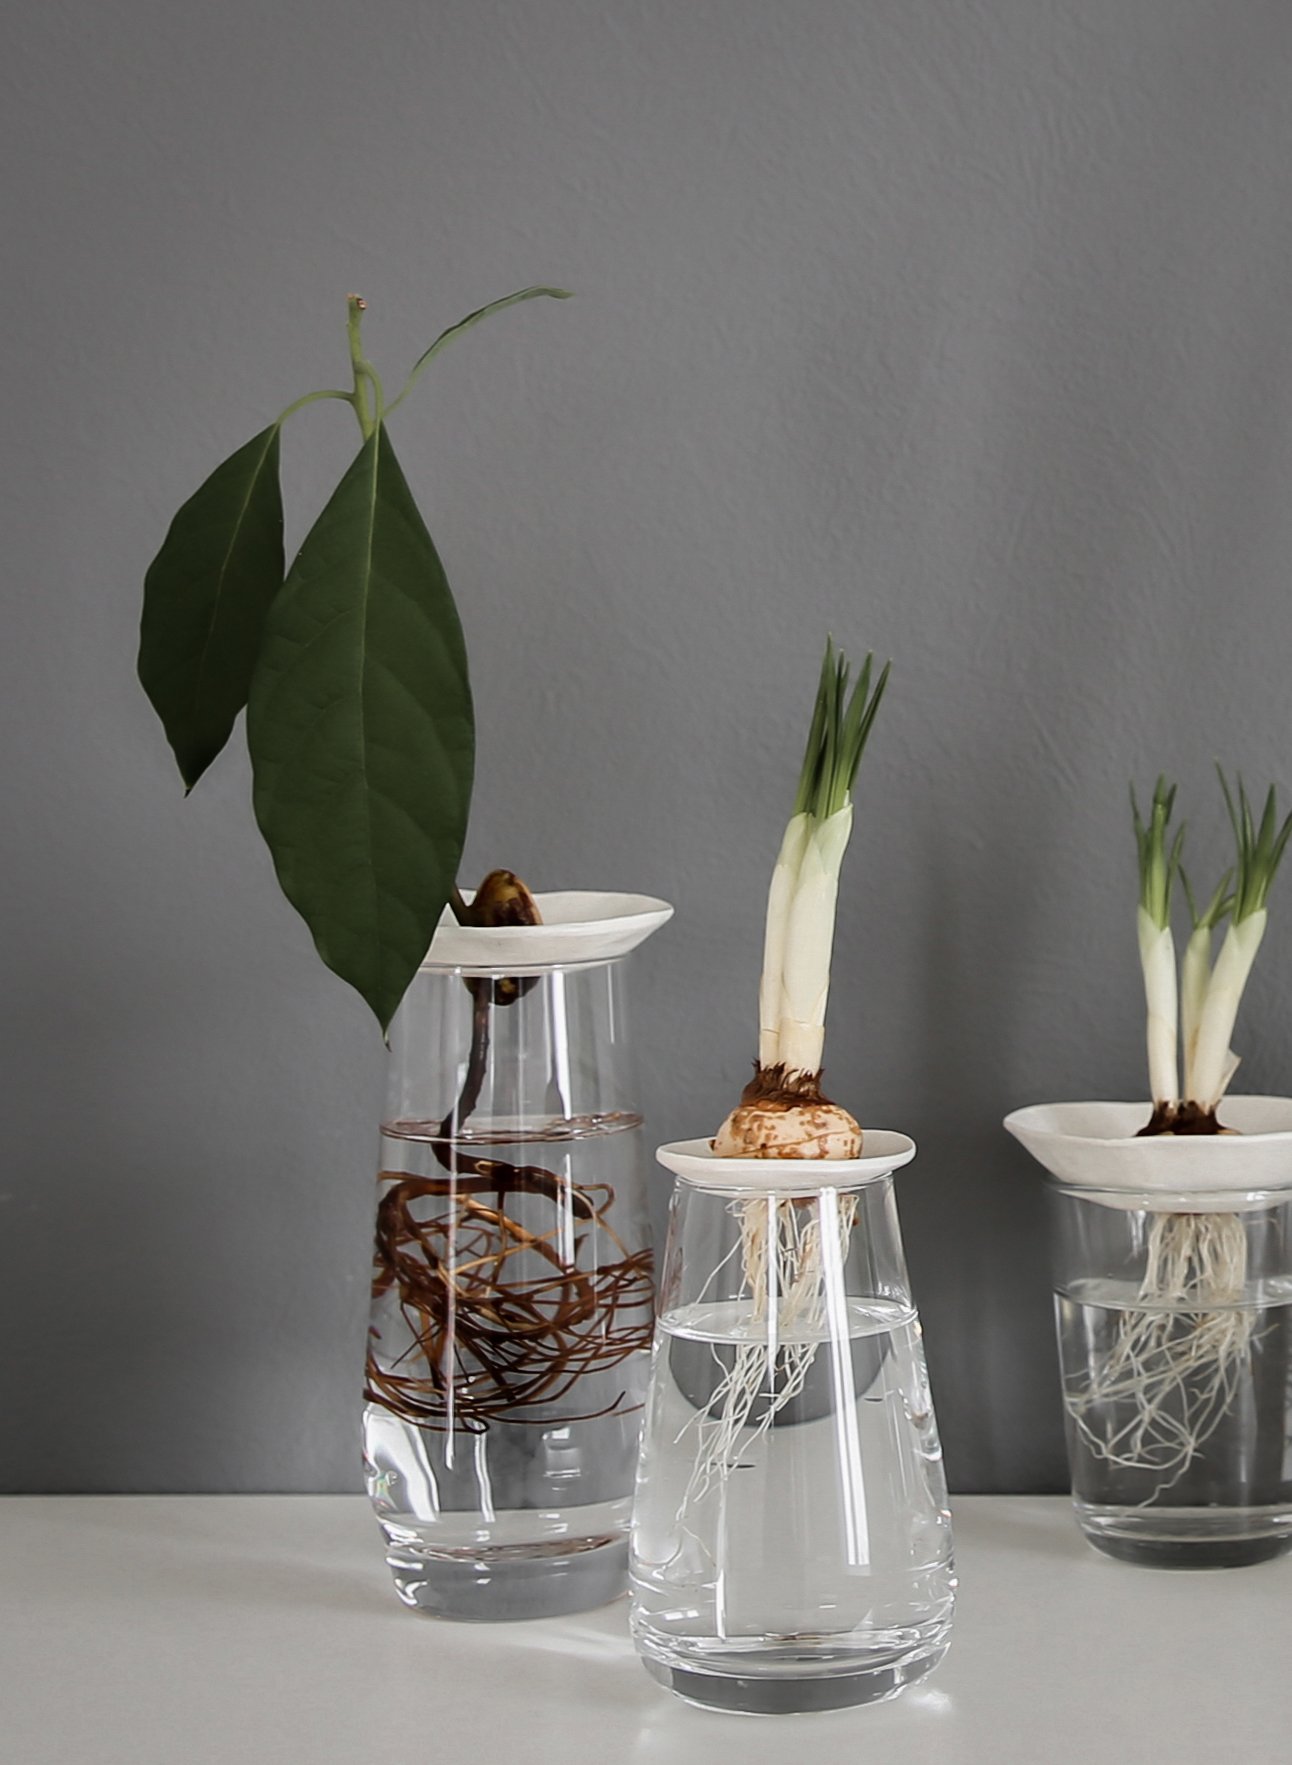
It’s Patrizia here and I’m so happy to be back, to share some more decorating and styling tips with you. It’s already March and with it, longer days, and some much-needed sunshine, it’s almost spring! Well, almost. The sad truth is, here in Switzerland it always takes quite some time until the warmer days finally take over. During this “in between” time, I love to bring spring indoors and force a few flowers to blossom a bit earlier. Forcing bulbs in water is an easy way to enjoy early blooms like crocus, hyacinths or little green cuttings. They look wonderful around the house, smell delightful and make the wait for spring a tiny bit more bearable.
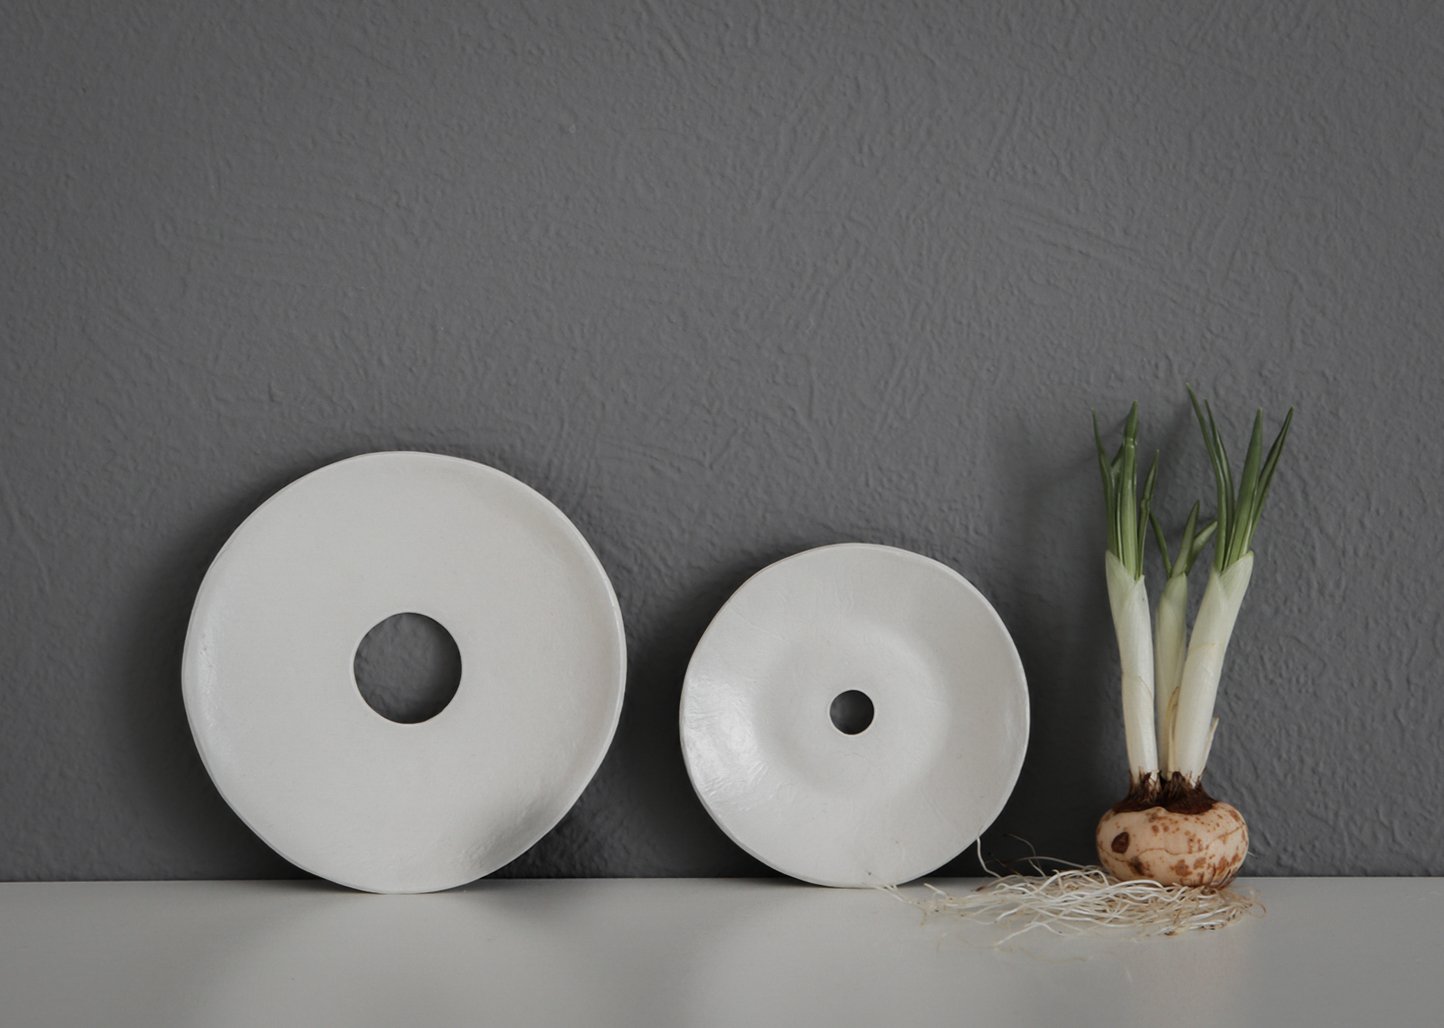
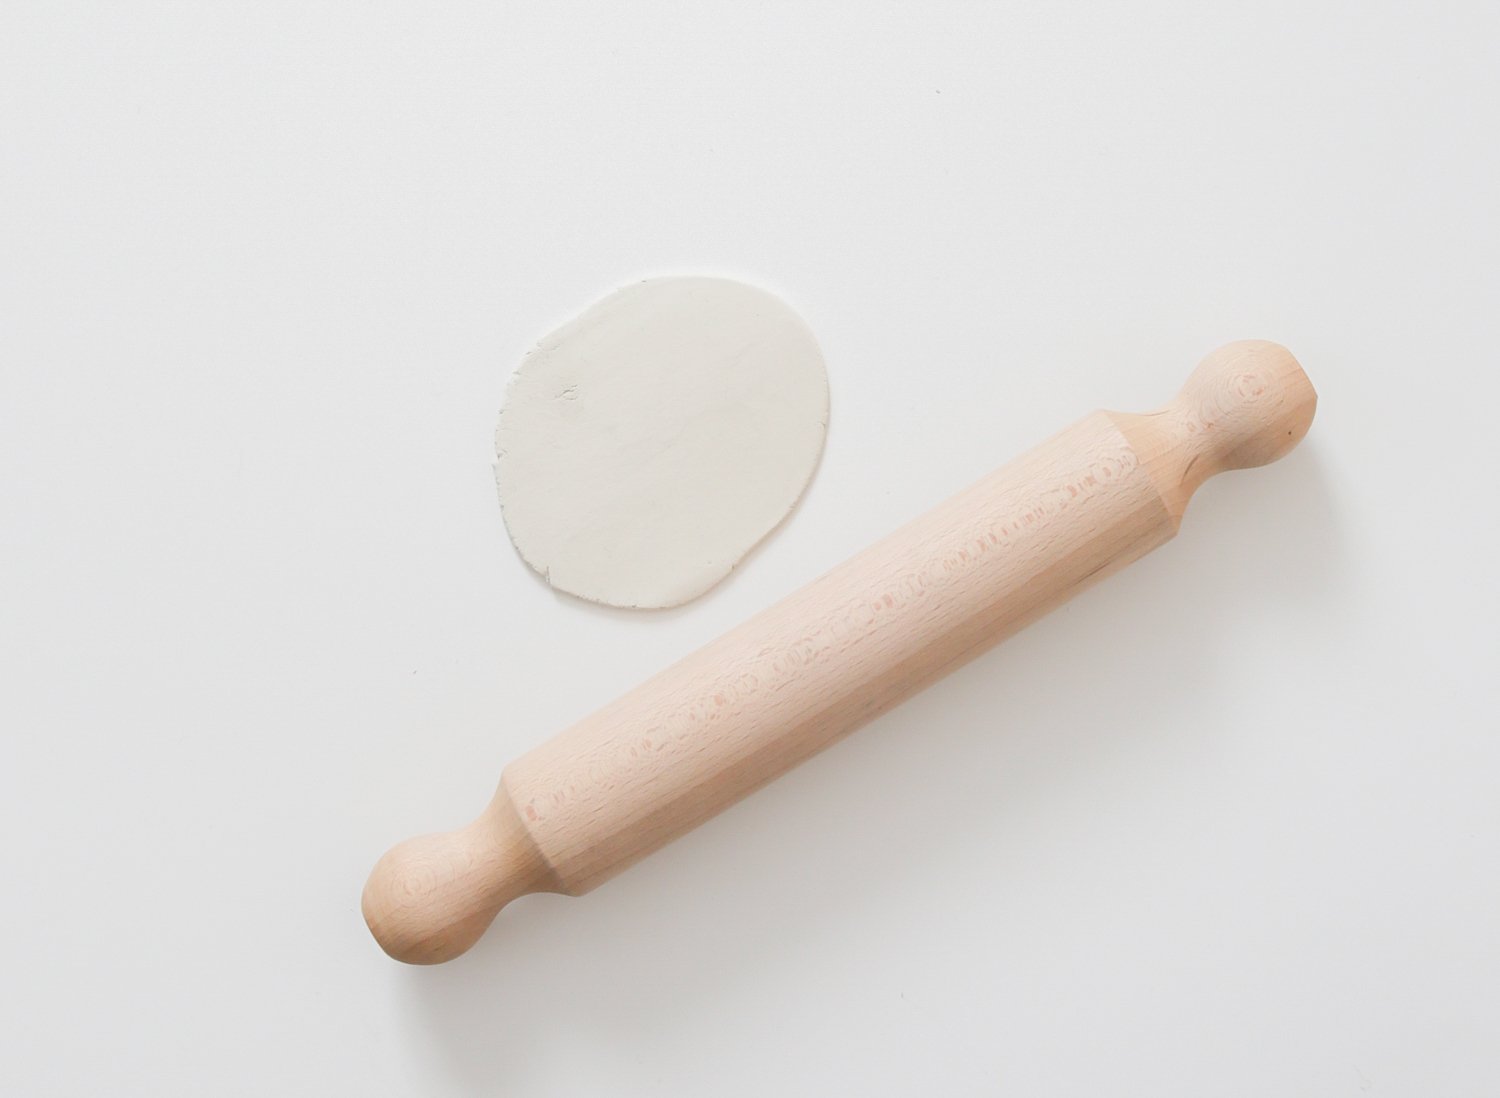
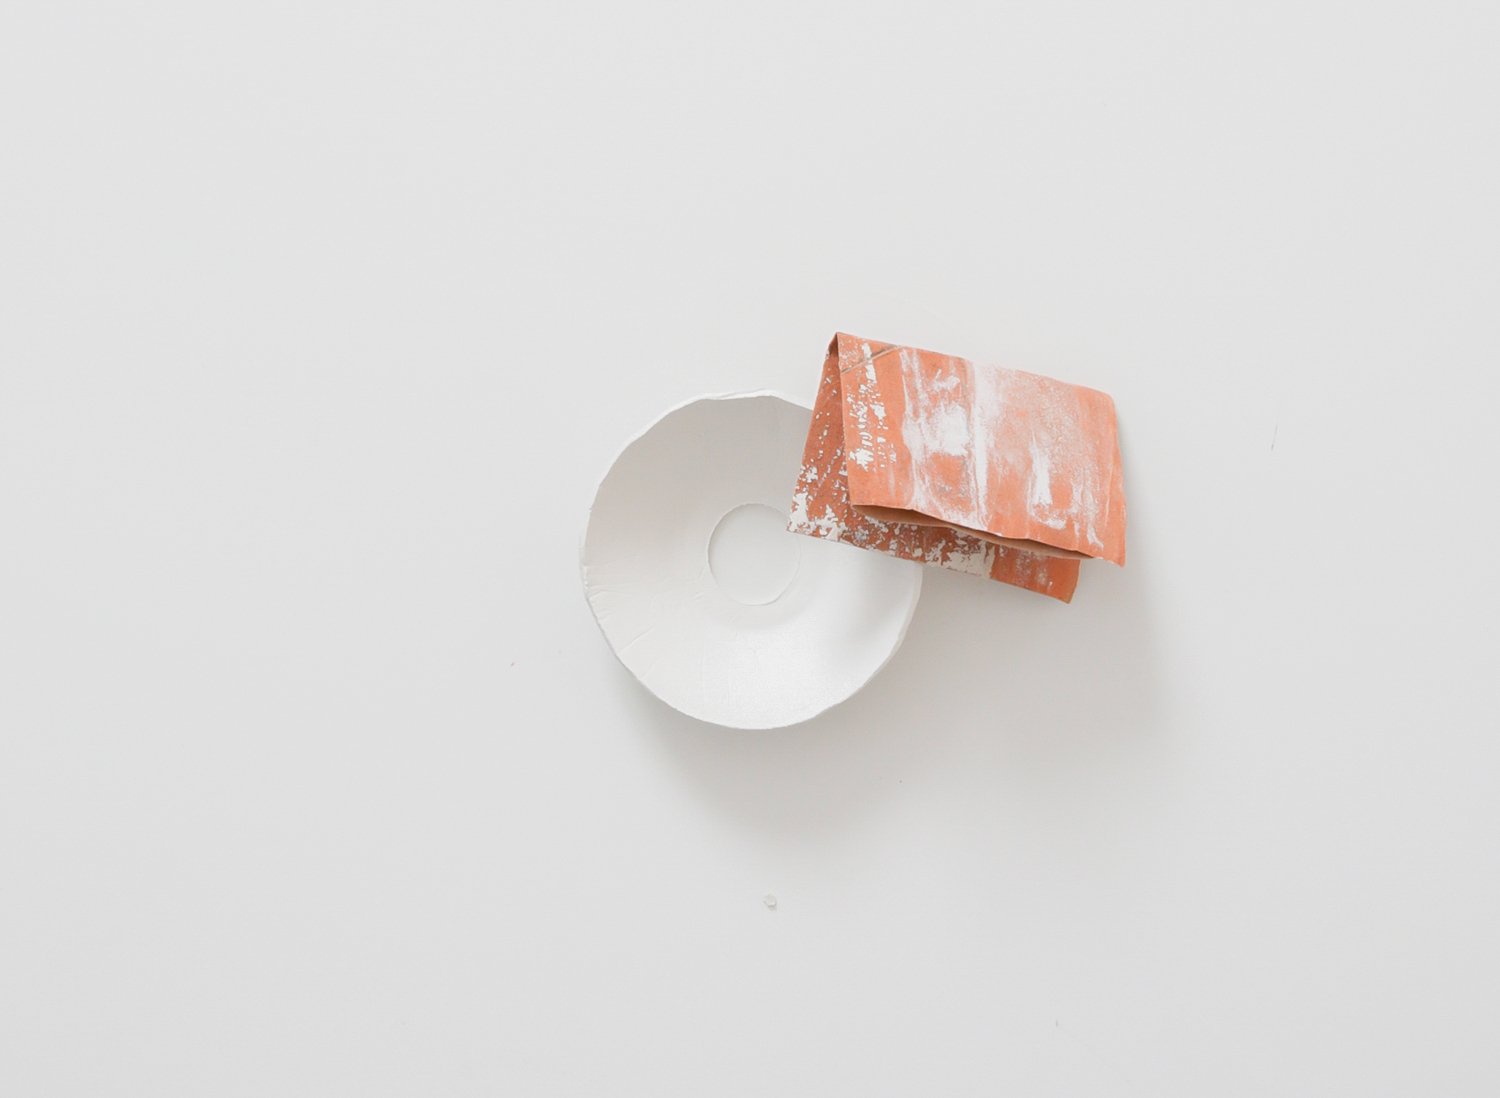
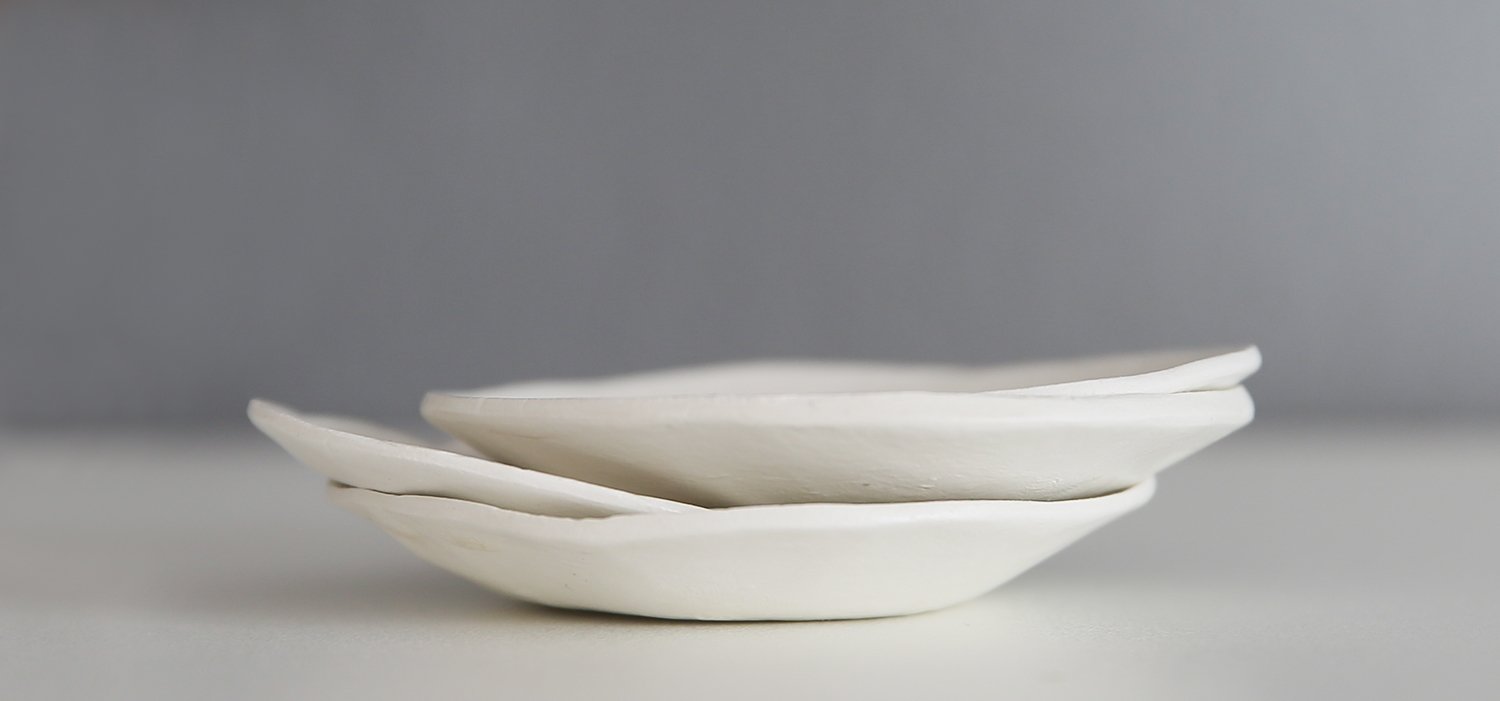
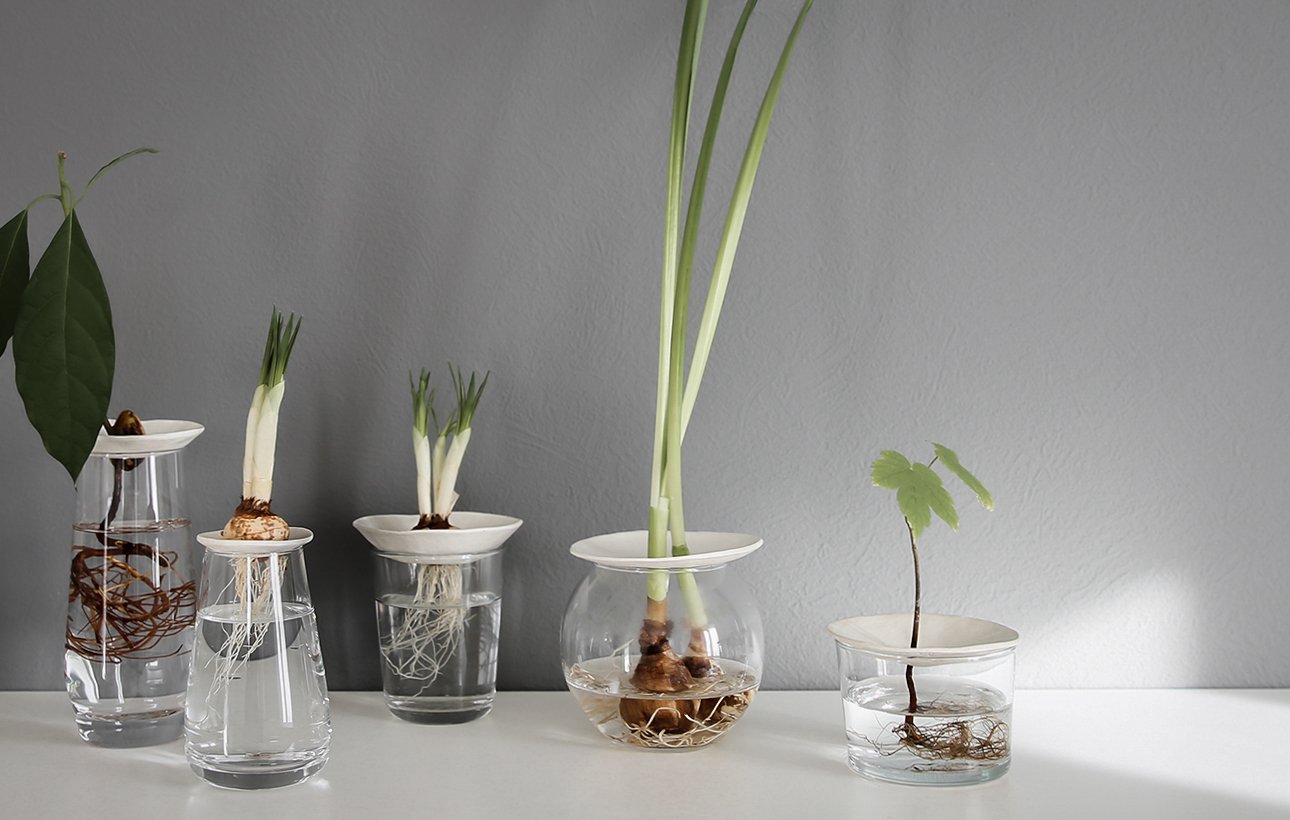
To display the flowering beauties adequate, I made some simple sprouting plates. I love seeing the fine roots grow in water and find it much nicer than planting them in soil. The sprouting plates are made of clay and fit over my favorite glasses and vases. This way the bulb hovers just above the water and can grow without rotting. The cool thing is, you can make them in any size you need, so they fit whatever vessel you fancy. Super cute and totally easy to make. All you need is: modeling clay, round cutters in various sizes, a rolling pin, small bowls, sandpaper, clay sealant, and a brush.
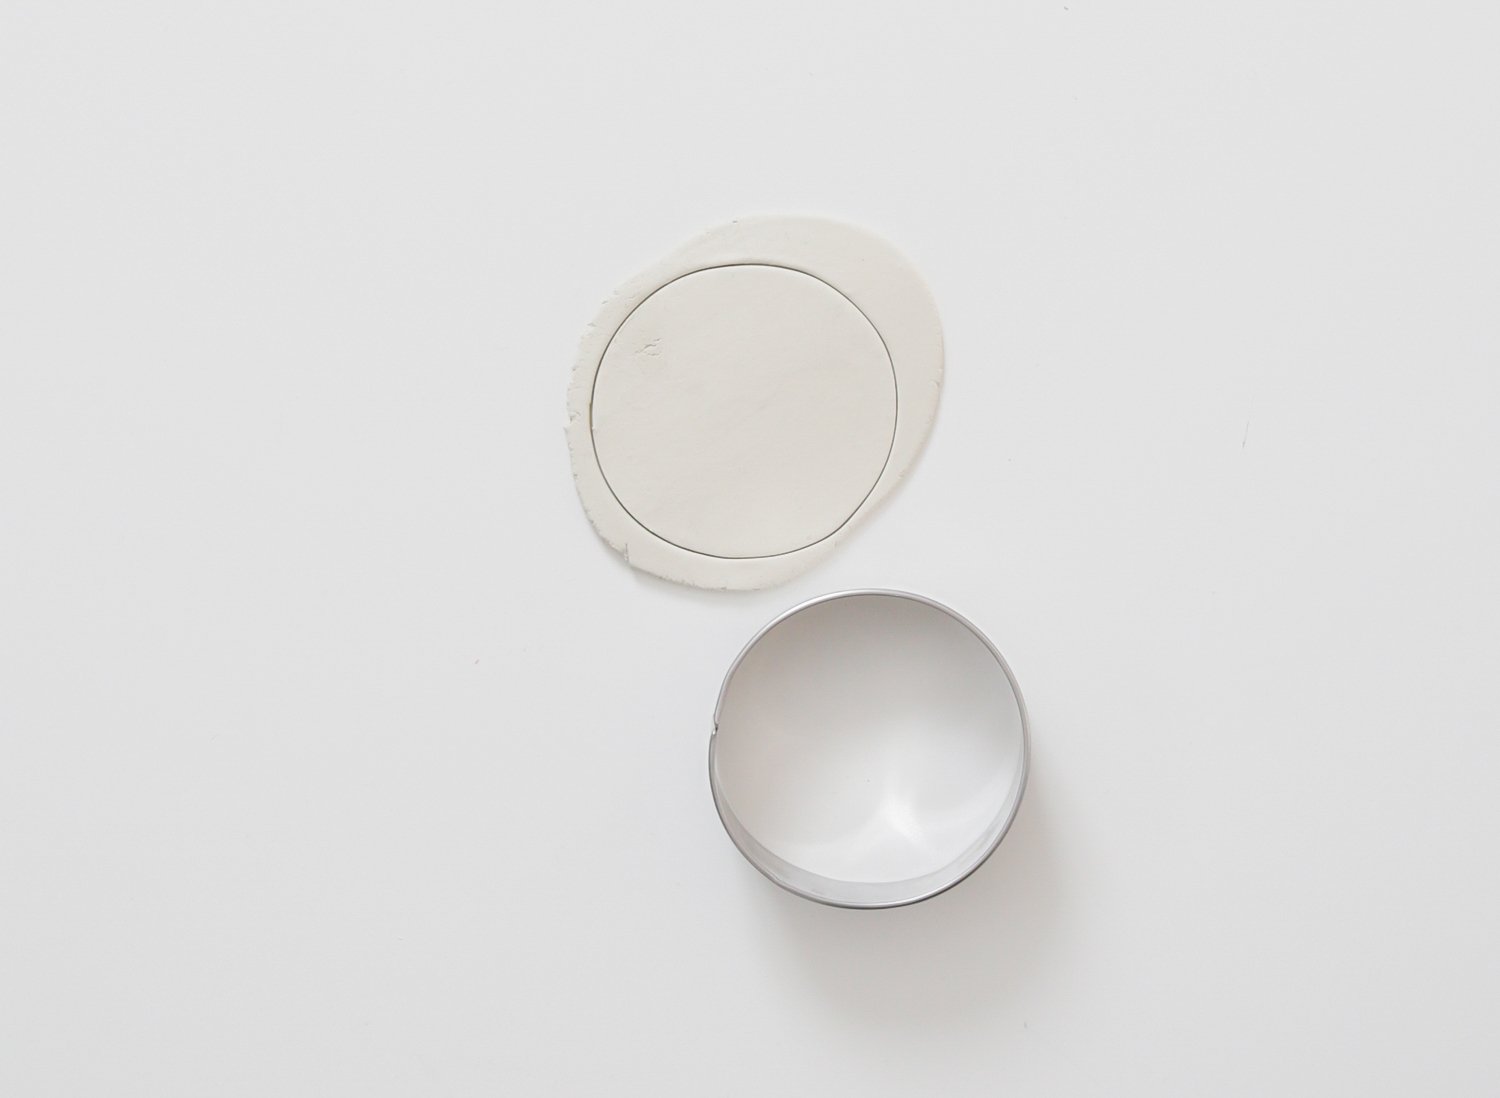
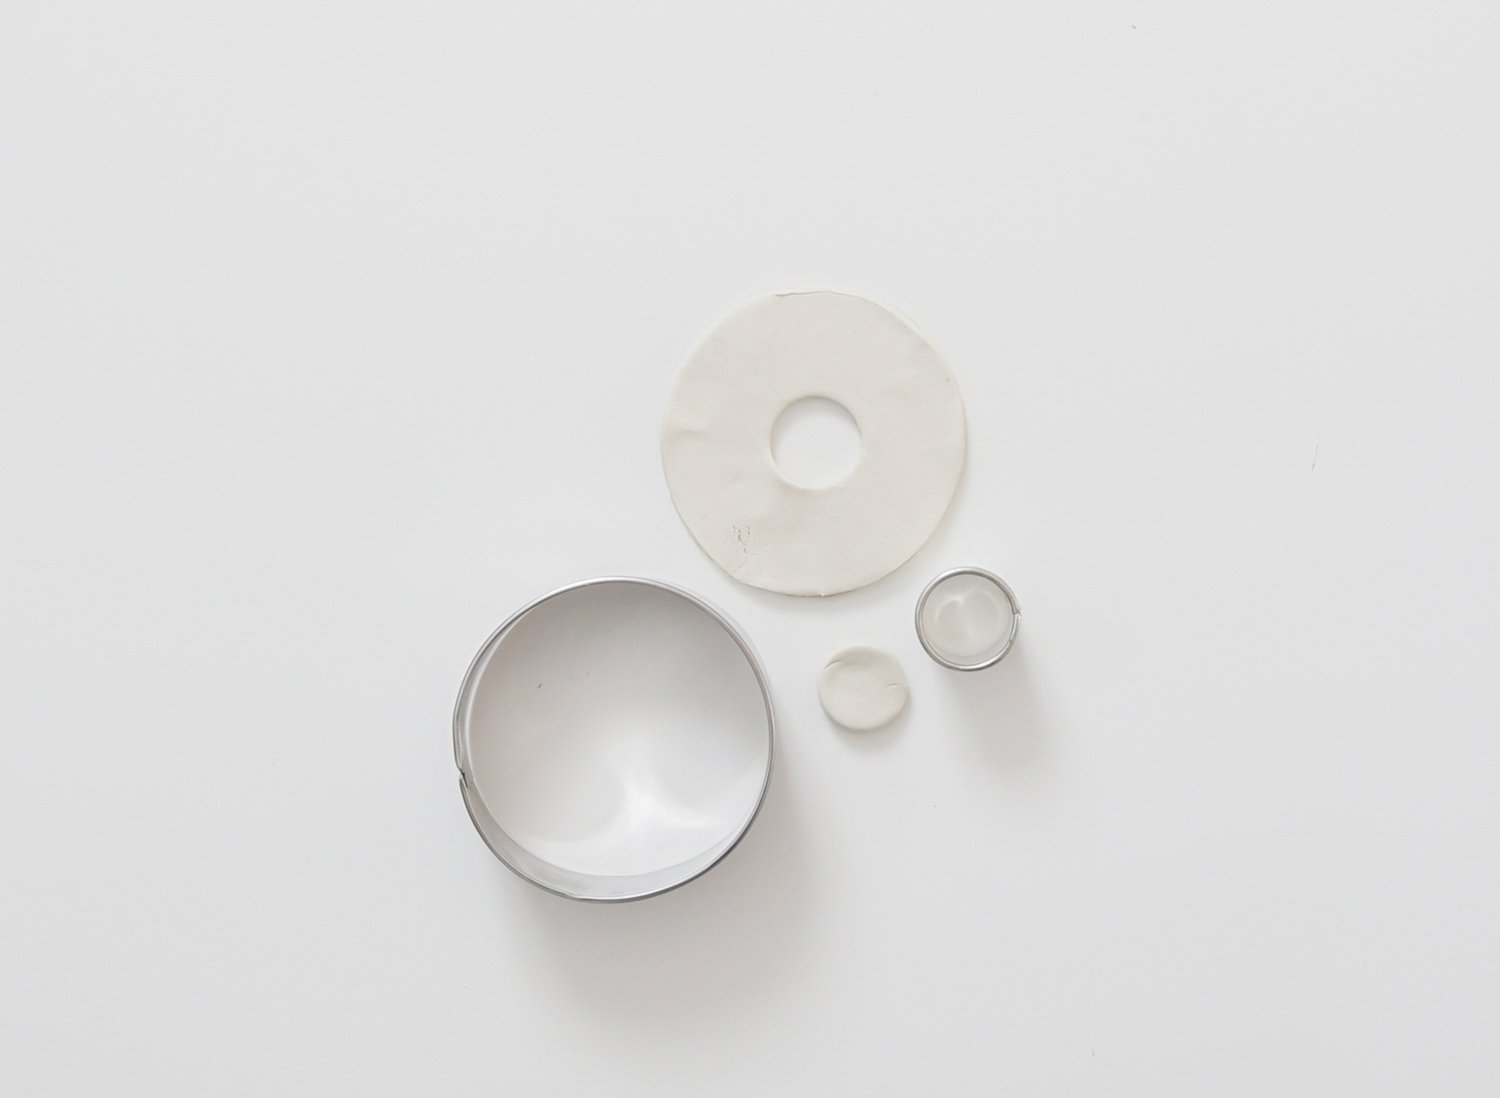
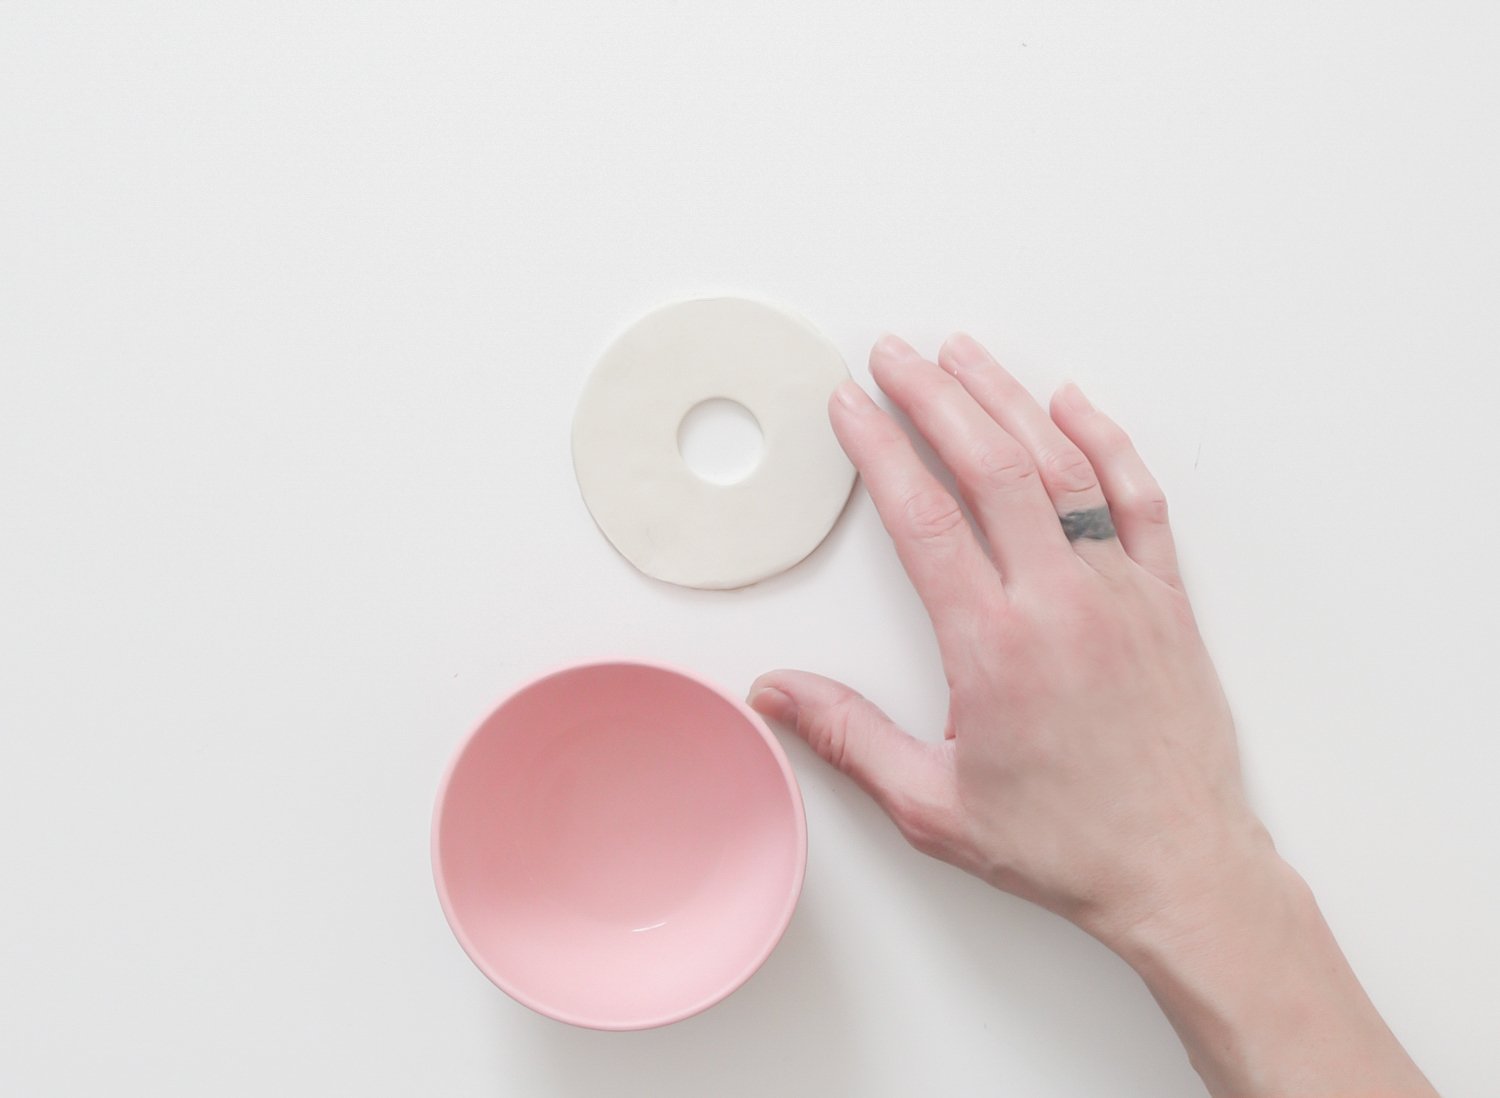
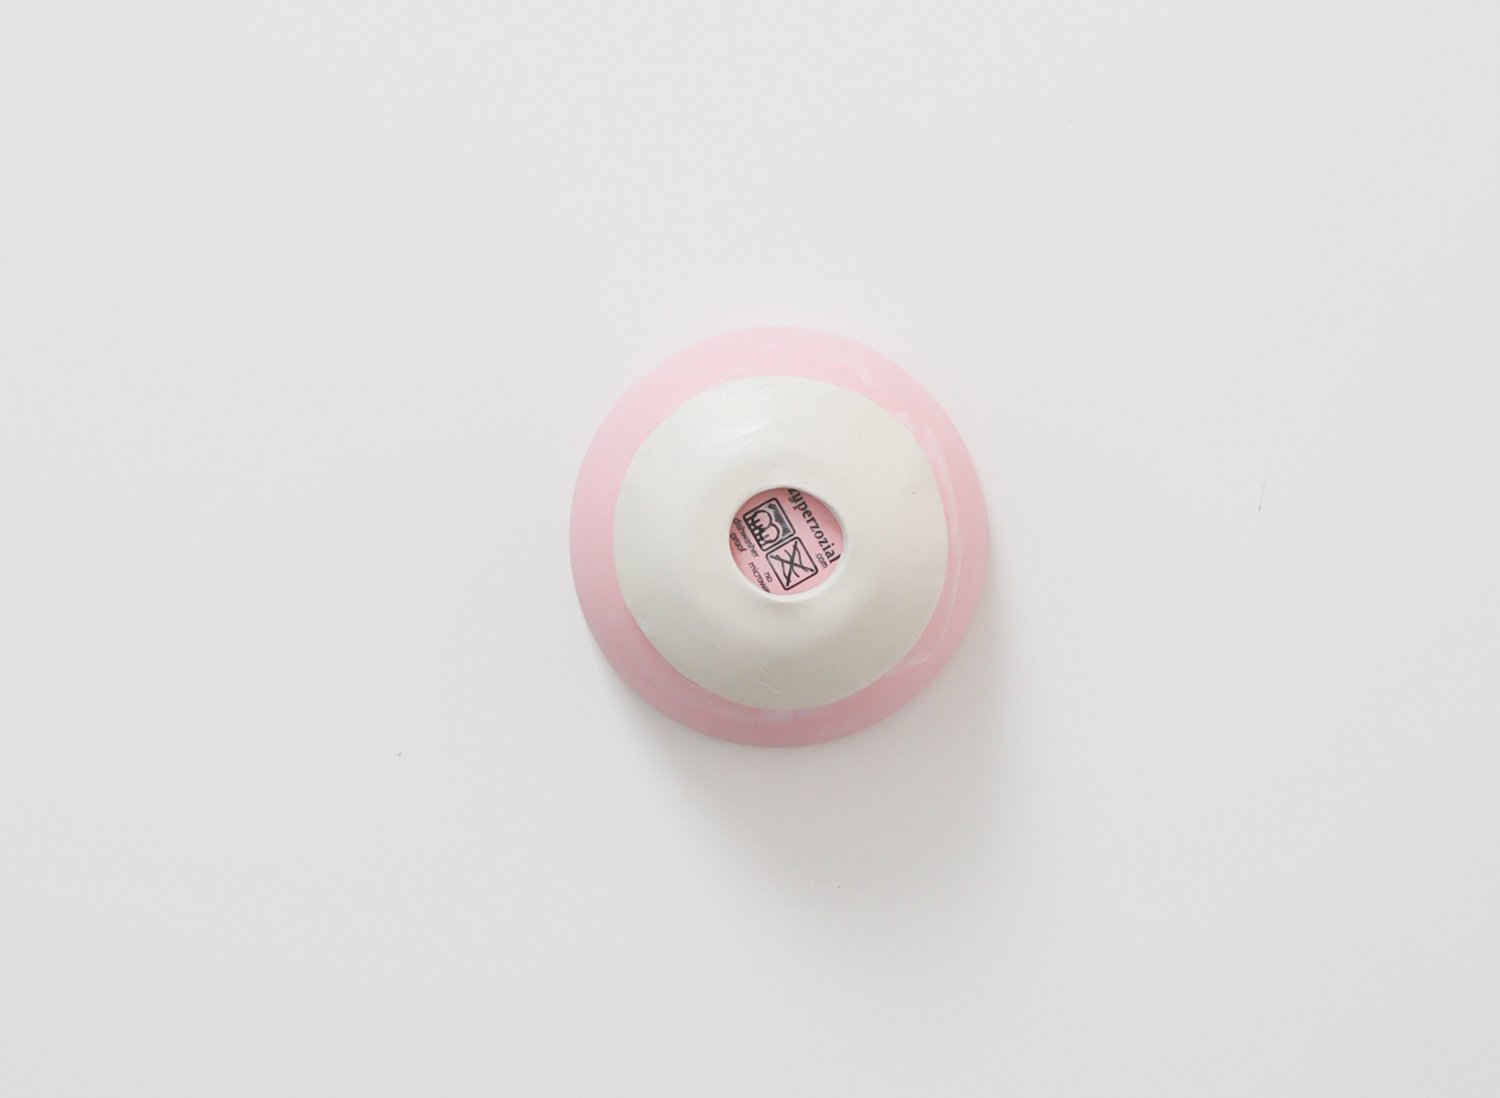
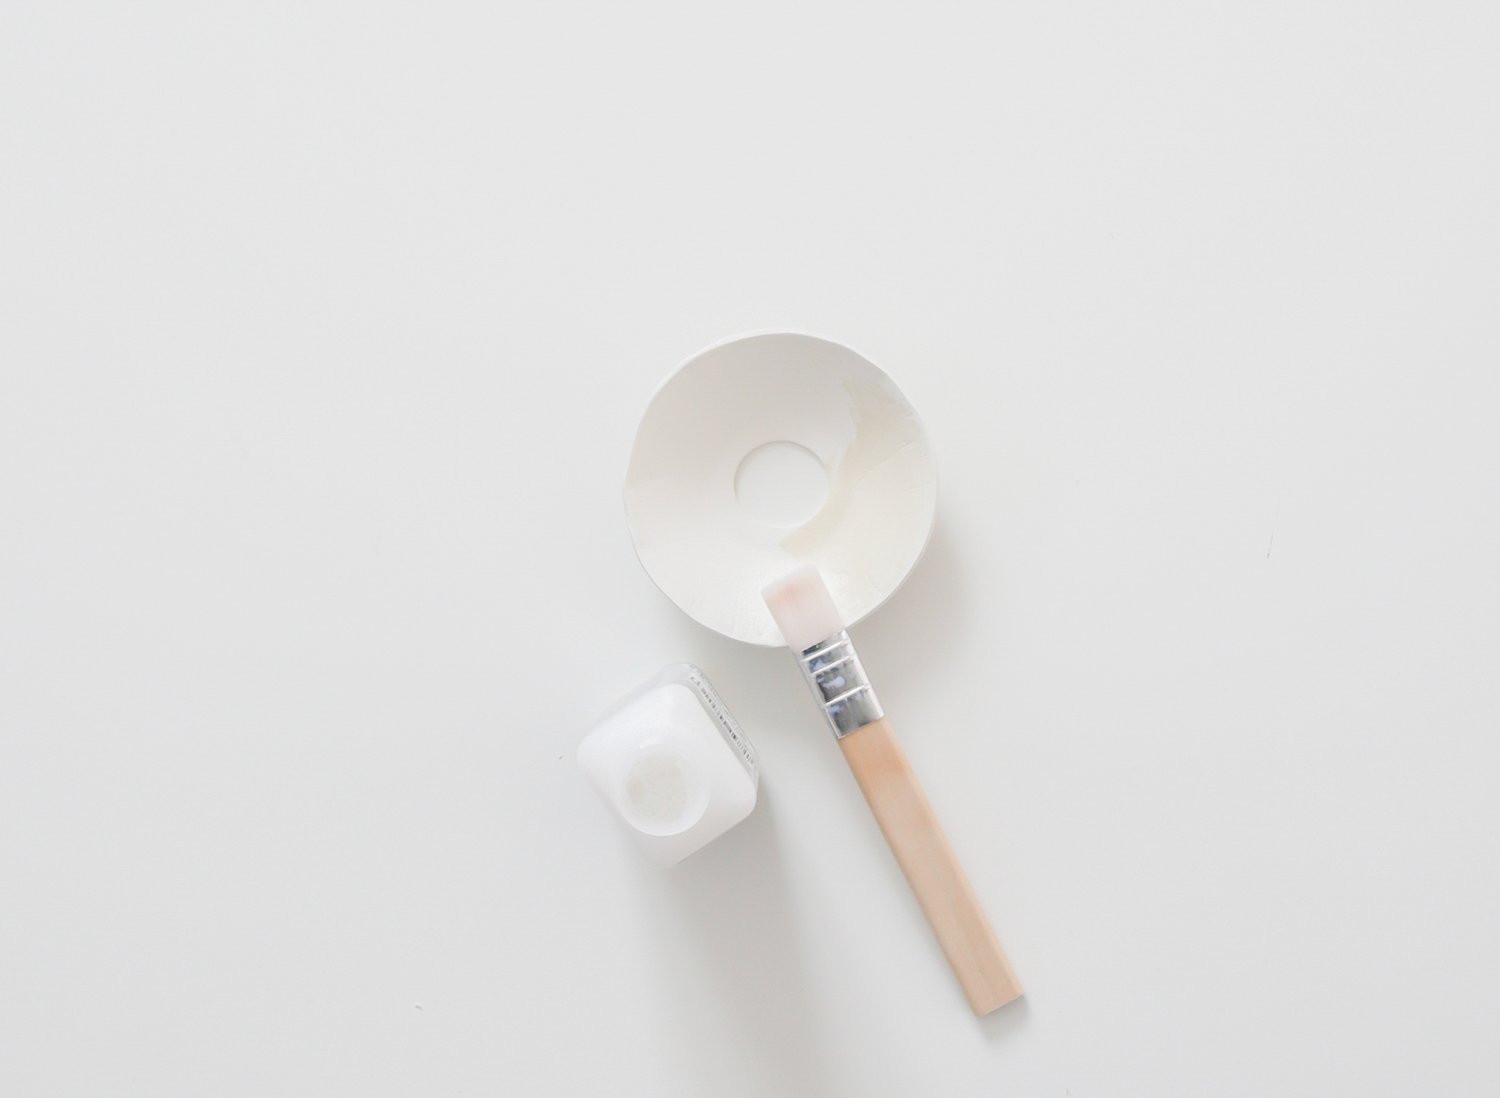
Instructions: On a smooth surface, roll out a piece of clay until it is 3-4 mm thick. Using your cutter, cut out a large circle. With a smaller form (I used the lid of a large marker), cut out the opening in the middle of the circle. Use your fingers and a few drops of water to smooth out any uneven areas. Lay the clay over a small bowl so it will take on the round shape. Let the clay plate dry out completely. Once dry, use the sandpaper to make the plate smooth and round. Dust it off with a dry cloth. Now you can seal the plate with mod podge or a sealing agent of your choice.
The sprouting plates are also perfect to root plant cuttings, forcing acorns or to sprout avocado seeds. Just vary the size of the inside hole to fit the different seeds.
I hope you liked this little DIY and I would love to hear what you do to bring spring vibes into your home.
See you next month!
Photography, Text & Styling: Patrizia Furrer for Passionshake


Hi Patrizia ,
Thank you very much for the excellent tutorial on the sprouting plates. This is something I have been looking for, for the avocado seeds I have sprouted in water.
Love your plants too, they are gorgeous.
Linda